Cracked Your Amazon Fire Tablet Display? Here’s How to Replace It

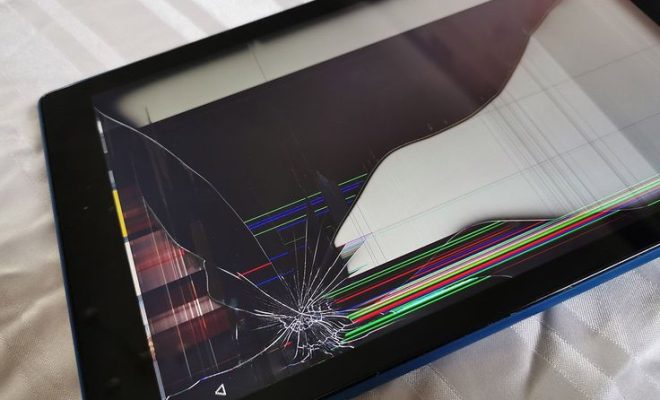
Amazon Fire Tablets are popular devices that are used for various purposes, such as reading eBooks, watching movies and surfing the internet. However, accidents happen, and sometimes, we find ourselves with a cracked screen on our beloved tablet. Fortunately, a broken display doesn’t put an end to your device’s functionality. Here’s how to replace your Amazon Fire Tablet screen.
First, Determine Your Model
Amazon has released several models of the Fire Tablet, and each model has a different screen size and design. Before buying a new screen, ensure that you know your device’s model number. To check your Fire Tablet’s model number:
-Go to the “Settings” menu, and tap on “Device Options.”
-Select “Device Model” or “About Your Fire.” The model number should be displayed.
Purchase a Replacement Screen
Once you have determined your device’s model, you can now buy a replacement screen. Several online stores, such as Amazon, have replacement screens for Fire Tablets. Ensure that you buy the right size and model of the screen. When shopping online, look for screens that come with the necessary tools or buy them separately.
Tools Require to Replace the Screen
To replace your Amazon Fire Tablet’s display, you will need the following tools:
-Small Phillips screwdriver
-Plastic pry tool
-Hairdryer
-Heat gun
-Double-sided tape
-Replacement screen
Steps to Replace Your Amazon Fire Tablet Screen
1. Power off your Amazon Fire Tablet device.
2. Remove the outer case. Use a plastic pry tool to remove the clips around the edge of the tablet’s casing.
3. Remove the motherboard. Locate the white ribbon cable that connects the motherboard to the battery and screen. Unplug the white ribbon cable by gently pulling the plug from the motherboard.
4. Peel off the adhesive on the back of the screen.
5. Separate the screen from the frame. You can use a hairdryer or heat gun to warm up the frame and soften the adhesive holding the screen.
6. Remove the broken screen. Using a plastic pry tool, gently lift the screen and remove it from the tablet.
7. Install the replacement screen. Apply double-sided tape to the replacement screen’s back and align it with the tablet’s frame. Ensure that the screen fits correctly in the frame.
8. Reconnect the motherboard. Plug the white ribbon cable back into the motherboard.
9. Attach the outer casing. Carefully reinstall the case and use a small Phillips screwdriver to secure each screw.
10. Power on your Amazon Fire Tablet device. Check if the new screen is working correctly.
In conclusion, replacing your Amazon Fire Tablet screen can save you money compared to buying a new device. However, it is essential to take necessary precautions and use the correct tools to prevent further damage. If you are unsure about replacing the screen, seek professional help from a repair shop.


