How to Wipe a Dell Laptop

Wiping a Dell laptop can be extremely useful for anyone who wants to dispose of their device or simply wants to sell it. It is an essential process to follow if you want to protect your personal data from falling into the wrong hands.
Wiping a laptop involves completely erasing all the data on the device, including the operating system, programs, and personal files. The process ensures that no trace of your personal data is left on the laptop, making it impossible for anyone else to access it. Here’s how to wipe a Dell laptop.
Step 1: Back up Your Data
Before you begin wiping your Dell laptop, you need to back up your data. This process involves copying your important files and documents to an external hard drive, USB flash drive, or cloud-based storage service. This step will ensure that you don’t lose any critical data during the wiping process.
Step 2: Disconnect Your Laptop from the Internet
To protect your personal data during the wiping process, you need to turn off all connections to the internet. This step keeps your laptop from downloading updates, which can interfere with the wiping process. Ensure that your laptop is disconnected from the internet before proceeding with the wiping process.
Step 3: Choose the Reset Option
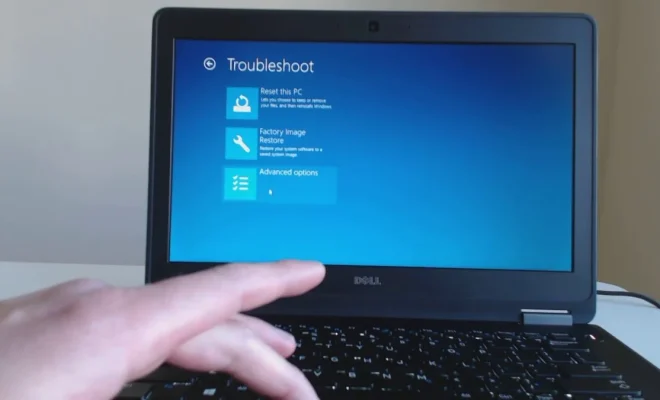
On a Dell laptop, the reset option is found in the system settings under “Update and Recovery.” Click on this option, and you will be prompted with two choices on how to reset your device. Choose the “Remove Everything” option and click on “Get Started.”
Step 4: Choose the Drive to Erase
The next step is to select the drive on your Dell laptop that you want to erase. You can choose just the primary drive that has your operating system and data, or you can select both drives if you have multiple drives attached to your laptop. Once you make your selection, click on “Next.”
Step 5: Confirm the Reset
After choosing the drive to erase, you need to verify that you want to proceed with the reset process. This step involves double-checking that all your data will be wiped clean, and it cannot be restored. Click on “Reset” to continue.
Step 6: Wait for the Wiping Process to Complete
The Dell laptop will now begin to erase all the data from the selected drive. This process can take anywhere from a few minutes to an hour, depending on the size of your drive. Ensure that your laptop is plugged into a power source throughout the process.
Step 7: Reinstall the Operating System
After the wipe is complete, you will need to reinstall the operating system on your Dell laptop. Follow the prompts to install the operating system, and make sure that you enter any necessary activation codes or registration information.
In conclusion, wiping a Dell laptop is a critical process that everyone should know how to do. By following the steps above, you can ensure that your personal data is protected, and your laptop is ready for reuse or disposal. Remember to back up your data before wiping your laptop, and always disconnect from the internet to ensure a smooth process.


