How to Turn Your iPad Into a Drawing Tablet

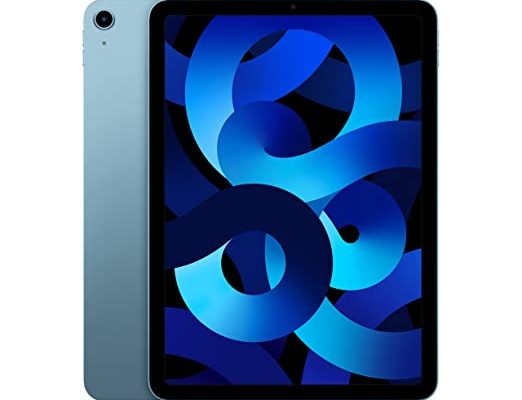
If you’re an artist or graphic designer, you know how important having a good drawing tablet can be. But what if you don’t want to spend the money on a separate tablet? Fortunately, you can turn your iPad into a drawing tablet with just a few simple steps.
Step 1: Download a Drawing App
First, you’ll need to download a drawing app onto your iPad. There are plenty of options out there, including Procreate, Autodesk Sketchbook, and Adobe Fresco. These apps offer a variety of tools and features, so choose the one that best suits your needs.
Step 2: Connect Your iPad to Your Computer
If you’re using a Mac, you can use the Sidecar feature to connect your iPad to your computer and use it as a second screen. If you’re using a PC, you can use software such as Duet Display or Astropad to achieve the same effect. These programs will allow you to see your computer screen on your iPad and use it as a drawing tablet.
Step 3: Configure Your Settings
Once your iPad is connected to your computer, you’ll need to configure your settings to allow it to work as a drawing tablet. Make sure your drawing app is set to recognize your iPad as a stylus input device. You may also need to adjust other settings, such as brush size and opacity, to get the best results.
Step 4: Get to Drawing!
Now that your iPad is set up as a drawing tablet, it’s time to get creative! Use your stylus to draw, sketch, and paint to your heart’s content. Experiment with different brushes, textures, and colors to see what works best for you.
With these simple steps, you can turn your iPad into a powerful drawing tablet, giving you the flexibility to work wherever and whenever inspiration strikes. So why spend money on a separate tablet when you can use the device you already have?


