How to Replace the Memory (RAM) in Your Windows Computer

As your computer gets older, you may find that it’s not performing as well as it used to. This could be due to a number of factors, but one of the most common is a lack of memory. Fortunately, it’s relatively easy to upgrade the memory in your Windows computer.
Here’s how to do it:
Step 1: Determine the Type of RAM You Need
Before you can replace your computer’s RAM, you need to know what type of RAM your computer uses. There are a few different types of RAM, including DDR2, DDR3, and DDR4. To find out which type of RAM your computer uses, you can use a tool like CPU-Z.
Step 2: Purchase the Right RAM
Once you know what type of RAM your computer uses, you can purchase new RAM. Make sure you buy RAM that is compatible with your computer’s motherboard. You can usually find this information on the manufacturer’s website.
Step 3: Shut Down and Unplug Your Computer
Before you can replace your computer’s RAM, you need to shut down your computer and unplug it from the wall. This will ensure that you don’t accidentally damage any of the internal components.
Step 4: Open Your Computer’s Case
Next, you need to open your computer’s case. This will allow you to access the RAM slots on your computer’s motherboard. The process for opening your computer’s case will vary depending on the make and model of your computer, but there are usually screws or clips that need to be removed.
Step 5: Locate the RAM Slots
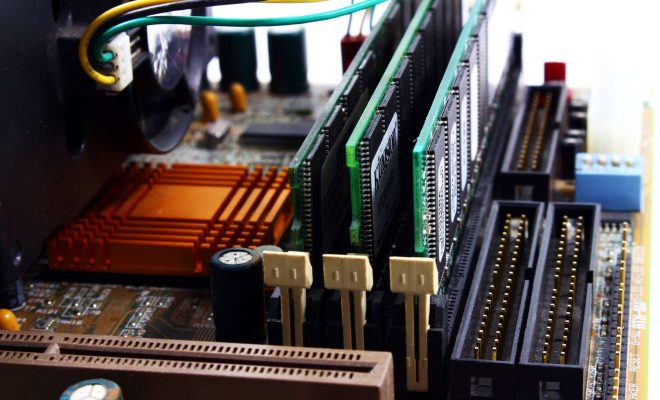
Once you have the case open, you need to locate the RAM slots on your computer’s motherboard. These will usually be located near the processor, and there will be one or more slots for the RAM.
Step 6: Remove the Old RAM
To remove the old RAM, you need to push down on the tabs or clips that are holding the RAM in place. Once the tabs or clips are released, the RAM should pop up, and you can remove it from the slot.
Step 7: Install the New RAM
To install the new RAM, you need to line up the notches on the RAM stick with the notches in the RAM slot. Once the RAM is lined up, you can push down on the stick and the tabs or clips should click into place, holding the RAM in place.
Step 8: Close Your Computer’s Case
Once you have installed the new RAM, you need to close your computer’s case. This will ensure that the RAM is protected from dust and other debris.
Step 9: Boot Your Computer
After you have closed your computer’s case, you can boot up your computer. If everything is working correctly, your computer should recognize the new RAM and your computer’s performance should improve.
In conclusion, replacing the memory in your Windows computer is a relatively easy process that can greatly improve your computer’s performance. Just make sure you purchase the right type of RAM and follow the steps carefully to avoid damaging any of the internal components.


