How to Make Your Wii U Useful Again With Homebrew

Has your Wii U become a paperweight collecting dust? Do you miss the days of playing your favorite retro games on Wii Virtual Console? Look no further – with homebrew, your Wii U can once again become a valuable addition to your game console collection.
Homebrew is a term for software created by an independent community of developers, allowing users to modify their consoles beyond the limitations set by the manufacturer. In other words, homebrew lets you run custom software on your Wii U, allowing for additional features like playing retro games and accessing new applications.
Before diving into the process, it’s important to note that homebrew does come with risks. There is a possibility of bricking your console (rendering it permanently unusable) if you don’t follow the proper steps or install malicious software. It’s important to do your research, find reputable sources and follow guides carefully.
With that being said, here are the basic steps to make your Wii U useful again with homebrew:
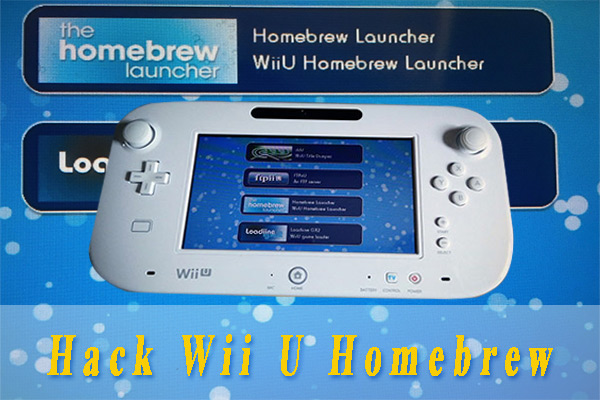
1. Install the Homebrew Launcher
The Homebrew Launcher is the starting point for your Wii U homebrew adventure. It allows you to access various homebrew applications and games. To install the Homebrew Launcher, you’ll need an SD card (at least 2GB) and a way to transfer files to the SD card (either a computer with an SD card reader or a USB SD card reader).
– Download the Homebrew Launcher files and extract them to the root directory of your SD card.
– Insert the SD card into your Wii U and turn it on.
– Launch the System Settings and go to the Internet tab. Connect to Wi-Fi.
– Launch the web browser and navigate to wiiuexploit.xyz. Follow the instructions on the screen to install the Homebrew Launcher.
2. Install RetroArch
RetroArch is a cross-platform emulator that allows you to play many retro games on your modern devices. It supports a variety of consoles, including NES, SNES, Game Boy and more. To install RetroArch on your Wii U, you’ll need to follow these steps:
– Download the RetroArch Wii U files and extract them to the root directory of your SD card.
– Insert the SD card into your Wii U and turn it on.
– Launch the Homebrew Launcher and select RetroArch.
3. Install WiiVC Injector
WiiVC Injector allows you to inject NES, SNES, Game Boy and other classic console games into the Wii U Virtual Console. To install WiiVC Injector, follow these steps:
– Download WiiVC Injector and extract the files.
– Install WiiVC Injector on your computer.
– Download an already converted game file, or convert a ROM file using the Wiivc Injector program.
– Transfer the game files to the SD card and insert it into the Wii U.
– Launch the Homebrew Launcher and select WiiVC Injector.
4. Install WUP Installer GX2
WUP Installer GX2 allows you to install Wii U game backups and homebrew applications. To install WUP Installer GX2, follow these steps:
– Download the WUP Installer GX2 files and extract them to the root directory of your SD card.
– Insert the SD card into your Wii U and turn it on.
– Launch the Homebrew Launcher and select WUP Installer GX2.
With these steps, you can make your Wii U useful again with homebrew. From playing classic console games to using new applications, there are many possibilities beyond the limitations set by the manufacturer. But remember – always research and follow guides carefully, as homebrew does come with potential risks. Happy modding!


