How to Check Wi-Fi Speed on Your Computer
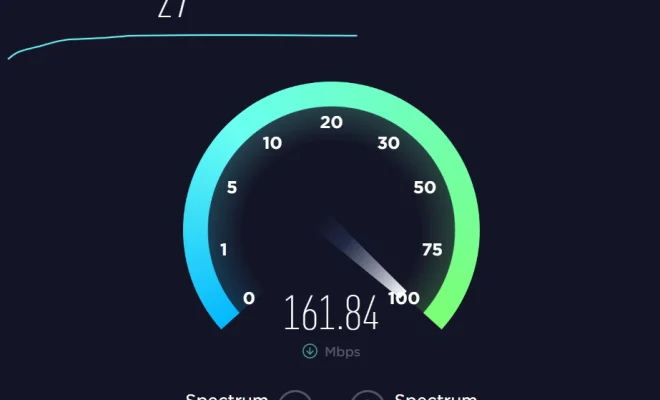
Are you experiencing slow Wi-Fi speeds on your computer? The first step in troubleshooting the issue is to check your Wi-Fi speed. Fortunately, checking your Wi-Fi speed is a straightforward process that can be done in a few simple steps.
Step 1: Connect to Wi-Fi
Before you can check your Wi-Fi speed, you need to be connected to a Wi-Fi network. Ensure that your computer is connected to a Wi-Fi network and that the connection is stable.
Step 2: Open Your Web Browser
Once you are connected to Wi-Fi, open your web browser. Any web browser will do, but we recommend using Google Chrome or Mozilla Firefox.
Step 3: Navigate to a Wi-Fi Speed Test Website
There are several Wi-Fi speed test websites available online, such as Speedtest.net or Fast.com. Navigate to one of these websites using your web browser.
Step 4: Run the Speed Test
Once you are on the speed test website, click on the “Start Test” button. The website will then begin to measure your Wi-Fi speed. The test will typically take a few seconds to complete.
Step 5: Analyze the Results
After the speed test is complete, the website will display your Wi-Fi speed in Mbps (megabits per second). Analyze the results to determine if your Wi-Fi speed is sufficient for your needs. If your Wi-Fi speed is lower than expected, you may need to troubleshoot your Wi-Fi connection or contact your Internet Service Provider (ISP) for assistance.
In conclusion, checking your Wi-Fi speed on your computer is a simple process that can be done in a few easy steps. By following these steps, you can determine if your Wi-Fi speed is sufficient for your needs and troubleshoot any issues that may be causing slow Wi-Fi speeds.

