How to Add TV Providers to iOS and Apple TV

Apple has made it incredibly convenient for users to stream their favorite shows and movies on their iOS devices and Apple TV. However, before you can start streaming, you need to set up your TV provider on your device. In this article, we will take you through the steps to add TV providers to iOS and Apple TV.
Step 1: Open the “Settings” app
The first step is to open the “Settings” app on your iOS device or Apple TV. Once you’ve opened the app, navigate to the “Accounts” section.
Step 2: Select “TV Provider”
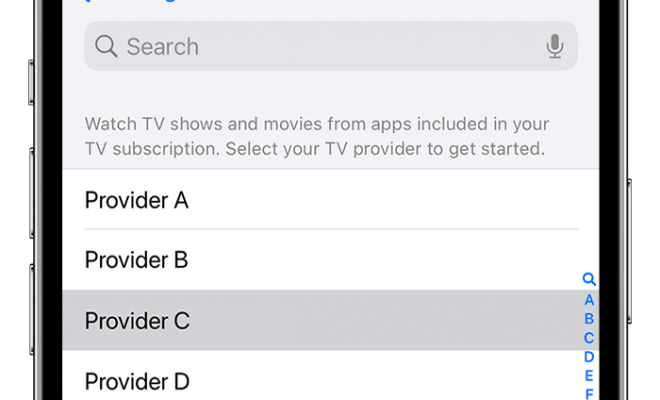
In the “Accounts” section, select the “TV Provider” option. Here, you can see the TV providers that Apple supports. Select your TV provider from the list.
Step 3: Enter Your TV Provider Credentials
Once you’ve selected your TV provider, enter your login credentials. If you are not sure about your login information, contact your TV provider for help.
Step 4: Select Your Subscription Plan
After you have entered your TV provider credentials, you will need to select your subscription plan. TV providers offer different subscription plans, so make sure you select the right plan that matches your needs.
Step 5: Verify Your Account
Once you have entered your subscription plan, your account will be verified automatically. Note that the verification process may take a while depending on your internet connection speed.
Step 6: Start Streaming
After you have successfully added your TV provider to your iOS device or Apple TV, you are ready to start streaming your favorite shows and movies. To get started, open the TV app on your device and select the show you want to watch.
In conclusion, setting up your TV provider on your iOS device or Apple TV is a simple process. By following the steps mentioned above, you can easily add your TV provider and enjoy streaming your favorite content. So, go ahead and start streaming!


