Touchpad not working on your Windows 10 laptop? Here’s how to fix it

Introduction:
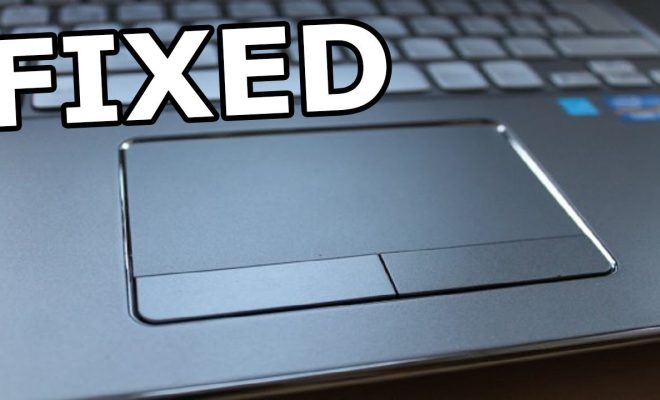
A touchpad is an essential component of your laptop, allowing you to navigate and interact with your device quickly and efficiently. However, there might be instances where your laptop’s touchpad stops working, leaving you frustrated and unable to use it properly. In this article, we will explore several methods to help you fix a non-functional touchpad on your Windows 10 laptop.
Method 1: Enable Your Touchpad Through Settings
Your touchpad might simply be disabled due to some changes in settings or an accidental key press. To re-enable it, follow these steps:
1. Press the Windows key + I together to open the Settings app.
2. Click on Devices.
3. Select Touchpad from the left pane.
4. Toggle the switch on under “Enable touchpad.”
5. Check if your touchpad starts working again.
Additionally, some laptops have a function key (Fn) that disables the touchpad. Look for an F-key (e.g., F5 or F7) with a touchpad icon and try pressing Fn + that specific F-key.
Method 2: Update Touchpad Drivers
Outdated or corrupted drivers could be another reason for your touchpad not working properly. To update them:
1. Right-click on the Windows Start button and select Device Manager.
2. Expand Mice and other pointing devices.
3. Right-click on the touchpad device (typically named HID-compliant mouse or similar) and click Update driver.
4. Choose “Search automatically for updated driver software.”
5. If updates are available, install them and restart your laptop.
Method 3: Reinstall Touchpad Drivers
If updating the drivers does not work, try reinstalling them:
1. Go back to the Device Manager as described above.
2. Right-click on the touchpad device and select Uninstall device.
3. Click Uninstall when prompted.
4. Restart your laptop, and the drivers will be reinstalled automatically.
Method 4: Adjust Power Management Settings
Aggressive power-saving settings may disable certain device features, like your touchpad. To alter power management settings:
1. Go to the Device Manager again.
2. Expand Mice and other pointing devices.
3. Right-click on the touchpad device and select Properties.
4. Go to the Power Management tab and uncheck “Allow the computer to turn off this device to save power.”
5. Click OK and reboot your laptop.
Method 5: Perform a System Restore
If everything else fails, a system restore might resolve the issue:
1. Type “restore” in the Windows Search bar and click on Create a Restore Point.
2. In the System Properties window, click on System Restore in the System Protection tab.
3. Follow the on-screen instructions and choose a restore point from before you experienced touchpad problems.
4. Your laptop will restart after the system restore is complete.
Conclusion:
While it can be frustrating when your touchpad stops working, following these methods should help you fix it in most cases. If none of these solutions work, consider getting professional help or contacting your laptop’s manufacturer for further assistance. Remember to keep your drivers up to date and regularly back up your system to prevent similar issues in the future.


