How to Watermark PDF Pages Using Quick Actions in macOS

Watermarking PDF pages is an essential measure to ensure the authenticity, ownership, and protection of your original content or branding. It is an effective way to protect your PDF files from forgery and unauthorized use. This article will guide you on how to watermark PDF pages using Quick Actions in macOS.
What are Quick Actions, and How to Use Them?
Quick Actions are powerful productivity tools that allow you to perform common tasks quickly and efficiently. They are built into the macOS operating system and can be customized to suit your specific needs. Quick Actions use Automator, a scripting application that enables you to automate repetitive tasks.
To access Quick Actions, you need to:
1. Open the Finder window
2. Select one or more files that you want to apply Quick Actions to.
3. Control-click or right-click on the selected files, and a contextual menu will appear.
4. Choose “Quick Actions” from the menu, and a list of available actions will be displayed.
How to Watermark PDF Pages Using Quick Actions?
1. Open Automator
To create a new Quick Action, you need to open Automator by searching for it in Spotlight or locating it in the Applications folder.
2. Select “New Document”
After opening Automator, select “New Document” from the startup screen or File > New.
3. Choose Workflow
Select “Workflow” when asked to choose the type of document to create.
4. Add the “Watermark PDF Documents” action
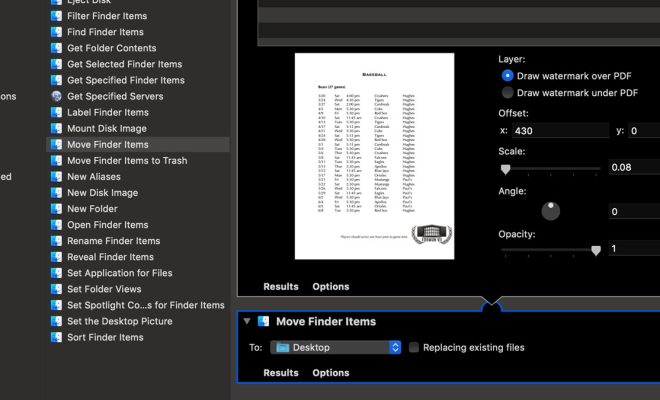
To add the watermarking function, search for “Watermark PDF Documents” in the Library panel, or you can find it under PDFs in the left-hand sidebar. Select and drag it to the right panel.
5. Configure the Watermarking Options
Once you have added the action, you will see a window where you can set the watermarking options, including selecting the watermark image, the position, the opacity, and the scaling. You can choose an image file or text as your watermark.
6. Save the Workflow
Once you have set your default options, click the “File” menu and save your Quick Action by naming it “Watermark PDF Pages” or any other name that you prefer.
7. Use the Watermark PDF Pages Quick Action
Now you can access your Quick Action by selecting one or more PDF files in Finder, right-clicking the selection and choosing “Quick Actions”, then “Watermark PDF Pages.” The Automator workflow will automatically add your chosen watermark image or text to the PDF pages in the position and configuration you have set.
Conclusion Watermarking your PDF pages is a vital step in protecting your intellectual property and ensuring its authenticity. Now, with Quick Actions in macOS, watermarking PDF pages has never been easier. By following the simple steps above, you can create a customized Watermark PDF Pages Quick Action and apply it to multiple PDF files easily and quickly.


