How to Use Timeshift to Backup and Restore Your Linux System

Backup is the most essential element to keep your computer data safe from accidental data loss or system failure. Having a robust and reliable backup system is crucial, especially for Linux users. Timeshift is an open-source software that allows Linux users to create incremental system backups and restore their system to a previous state if needed. In this article, we will guide you through the process of using Timeshift to backup and restore your Linux system.
What is Timeshift?
Timeshift is a system restore utility that creates incremental snapshots of the file system at regular intervals, allowing users to restore their system to a specific point in time when things were working correctly. Timeshift uses rsync and hard-links to create a snapshot of your system. It supports both Btrfs and Ext4 file systems, allowing users to take full control of their backups.
How to Install Timeshift?
Before using Timeshift, you need to install it on your Linux system, and the installation process varies according to the distribution you are using. For Debian and Ubuntu-based systems, you can install Timeshift from the command line by running the following commands:
sudo apt-add-repository -y ppa:teejee2008/ppa
sudo apt-get update
sudo apt-get install timeshift
For Fedora users, use the following command to install Timeshift:
sudo dnf install timeshift
For Arch Linux users, install Timeshift from the AUR by running the following command:
yay -S timeshift
Once installed, open Timeshift from the menu or by running the following command:
sudo timeshift-gtk
How to Create a System Backup using Timeshift?
Now that you have Timeshift installed, let’s start with creating a system backup.
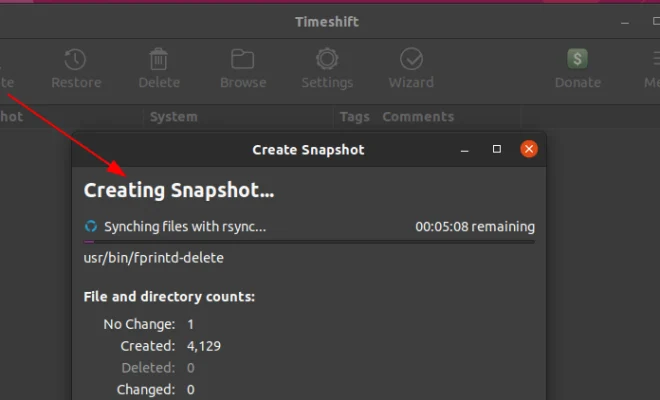
Step 1: Launch Timeshift and click on the Create button to start a new backup.
Step 2: Select the backup type – Rsync or BTRFS. Rsync is the default backup type recommended for those who are new to Timeshift.
Step 3: Choose the backup location where you want to save the backup. You can select an internal or external hard drive, or a network location.
Step 4: Choose the snapshot type. Timeshift offers two snapshot types – System snapshot and Home snapshot. System snapshot creates a complete backup of your system, including your settings and installed applications. A Home snapshot only backups up the user files.
Step 5: Select the snapshot frequency – Daily, Weekly, or Monthly. You can also choose the number of snapshots you want to keep.
Step 6: Simply click the Create button to start the backup process.
How to Restore Your System using Timeshift?
If something goes wrong with your system or you want to revert to a previous stable version of the system, you can easily restore your system using Timeshift. Here’s how:
Step 1: Launch Timeshift and click on the Restore button.
Step 2: Choose the backup location where your backup is stored.
Step 3: Select the snapshot you want to restore.
Step 4: Choose the restore type – System restore or Home restore.
Step 5: Select the restore location.
Step 6: Click on the Restore button to start the restore process.
Timeshift will restore your selected snapshot, and your system will now revert to how it was at that snapshot.
Conclusion
Timeshift is an excellent backup and restore utility for Linux users. It’s easy to use, and it offers robust and reliable system backups. With Timeshift, you can easily restore your system to a previous stable version in case of any mishap. We hope this article has helped you understand how to use Timeshift to backup and restore your Linux system.


