How to Use the Magic Eraser on the Pixel 6

The Pixel 6 is the latest and greatest smartphone from Google, and it comes packed with a whole host of exciting features. One of the most useful tools on the device is the Magic Eraser, which can be used to quickly and easily remove unwanted objects or blemishes from your photos. In this article, we will show you how to use this powerful tool on your Pixel 6.
Step 1: Open the Pixel 6 Camera App
The first thing you need to do is to open up the camera app on your Pixel 6. To do this, simply click on the camera icon on your home screen or from the app drawer.
Step 2: Take a Photo
Next, take a photo of the subject that you want to edit. Make sure you capture the exact aspect of the image that you want to fix. Try to take the photo in good lighting conditions and make sure it is in focus.
Step 3: Open the Photo in Google Photos
Once you have taken the photo, navigate to the Google Photos app and open the picture. You can do this by simply selecting the photo from the camera roll.
Step 4: Use the Magic Eraser
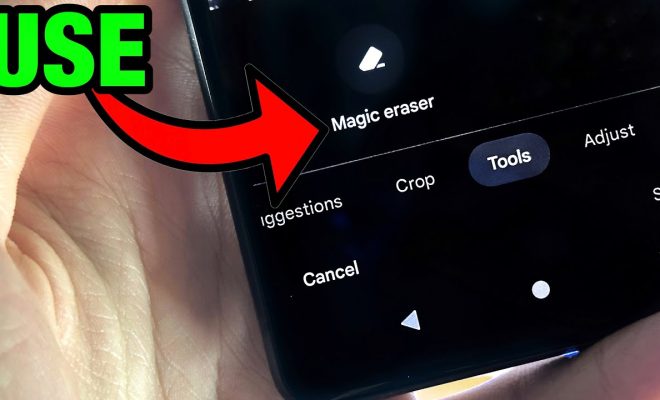
Now it’s time to use the Magic Eraser. To access the Magic Eraser, tap on the editing tools icon beneath the picture. This icon looks like three sliders. Then select the “Magic Eraser” tool from the pop-up menu.
Step 5: Use the Brush Tool to Select the Area You Want to Remove
The Magic Eraser tool works by allowing you to brush over the area you want to remove. Use the brush tool to select the area of the image that you want to erase. With the brush tool selected, simply drag your finger across the screen to highlight the object or blemish in question.
Step 6: Allow the Pixel 6 to Analyze the Image
After selecting the area to remove, the Pixel 6 will quickly analyze the image and determine what the background should look like. This can take a few seconds, but once it’s done, the object or blemish should be removed from the photo.
Step 7: Adjust the Image as Needed
After using the Magic Eraser, you may want to make some final adjustments to the image. Use the editing tools to adjust things like contrast, brightness, and saturation if needed.
Step 8: Save Your Edited Photo
Once you’re happy with your edited photo, simply click on the Save button to save the changes. You can also share the photo directly from Google Photos.
In conclusion, the Magic Eraser on the Pixel 6 is a powerful tool for quickly and easily removing unwanted objects or blemishes from your photos. By following these simple steps, you can use this tool to take your photos to the next level. Happy snapping!


