How to Use BlueStacks on Mac

BlueStacks is a popular Android emulator that allows you to run Android apps on your Mac. This powerful tool gives Mac users access to a wide variety of Android apps they may otherwise miss out on. In this article, we’ll look at how to use BlueStacks on Mac.
Step 1: Download and Install BlueStacks
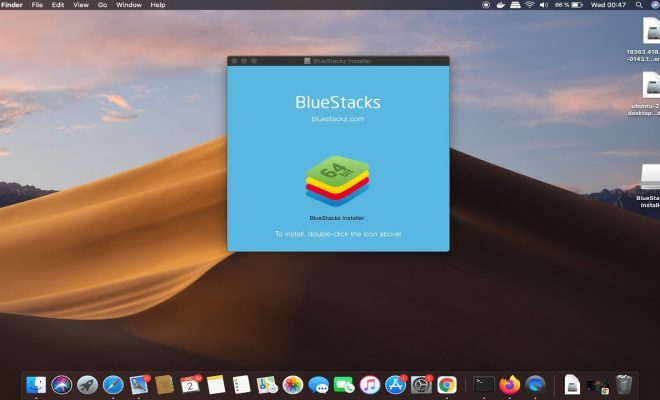
The first step to using BlueStacks on your Mac is to download and install the software. You can download BlueStacks for Mac from the official website. Once the download is complete, double-click on the .dmg file to start the installation process. Follow the on-screen instructions to complete the installation.
Step 2: Launch BlueStacks
After installing BlueStacks, launch the application from the Applications folder on your Mac or from the Dock. It may take a few minutes to load the first time you launch it, so be patient.
Step 3: Set up BlueStacks
Once BlueStacks has loaded, you’ll be prompted to sign in with a Google account. If you have an existing Google account, enter your credentials and sign in. If you don’t have a Google account, you can create one from within BlueStacks.
Once you’ve signed in with your Google account, you can start using BlueStacks. You’ll see the BlueStacks home screen, which looks like an Android home screen.
Step 4: Install Android apps
To install Android apps on your Mac using BlueStacks, click on the App Center icon on the top right-hand corner of the BlueStacks home screen. This will open the BlueStacks App Center, where you can search for and download any Android app you want.
Alternatively, you can also download Android apps directly from the Google Play Store. To do this, click on the Google Play Store icon on the BlueStacks home screen. You’ll be prompted to sign in with your Google account again. Once you’ve signed in, you can browse and download Android apps just like you would on an Android device.
Step 5: Customize BlueStacks
BlueStacks offers a range of customization options that allow you to tweak the emulator to suit your preferences. To access the settings menu, click on the gear icon on the top right-hand corner of the BlueStacks home screen.
From here, you can change the screen resolution, adjust graphics settings, and change the app settings. You can also set up your keyboard shortcuts and gamepad preferences from here.
Conclusion
Using BlueStacks on Mac is a great way to access Android apps that aren’t available for Mac. With BlueStacks, you can run any Android app on your Mac, from social media apps to games and productivity tools. By following the steps outlined in this article, you can start using BlueStacks on your Mac in no time.


