How to Update a Mac

Keeping your Mac up to date is important for ensuring that it runs smoothly and securely. Apple regularly releases updates to macOS, the operating system that powers your Mac, and other software to fix bugs, add new features, and improve performance.
Here’s a step-by-step guide on how to update your Mac:
Step 1: Check Your Mac’s Compatibility
Before updating your Mac, you should make sure that your Mac is compatible with the latest version of macOS. To do this, check the system requirements for the version of macOS you want to install. You can find this information on Apple’s website or in the App Store.
Step 2: Back Up Your Mac
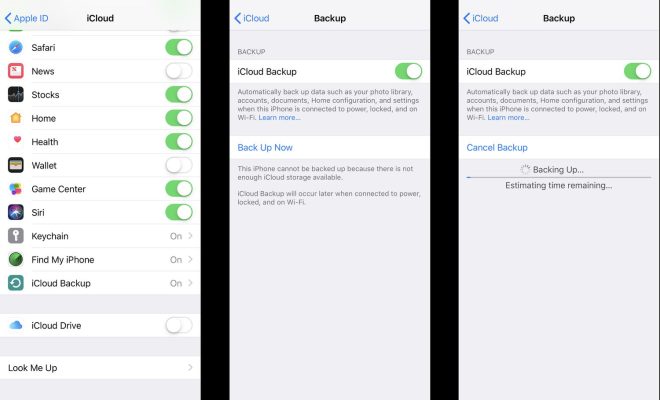
Before installing any updates on your Mac, it’s important to back up your data to ensure that you don’t lose any important files. You can back up your Mac using Time Machine, iCloud, or a third-party backup tool.
Step 3: Connect Your Mac to the Internet
To download and install updates on your Mac, you’ll need to connect it to the internet. You can do this by connecting to a Wi-Fi network or using an Ethernet cable.
Step 4: Check for Updates
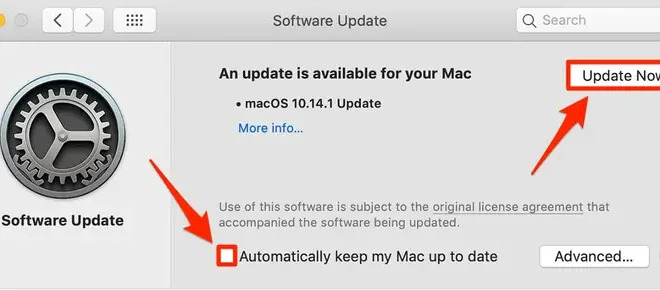
To check for updates on your Mac, open the App Store and click on the “Updates” tab. If there are any available updates, they will be listed here.
Step 5: Install Updates
To install updates on your Mac, click the “Update” button next to each available update. Alternatively, you can click the “Update All” button to install all available updates at once.
Step 6: Restart Your Mac
After installing updates, you may be prompted to restart your Mac. If so, save any open files and click the “Restart” button to restart your Mac.
That’s it! Your Mac is now up to date and ready to use. By following these steps, you can ensure that your Mac stays secure, performs well, and has access to the latest features and improvements.


