How to Unarchive an Email in Gmail
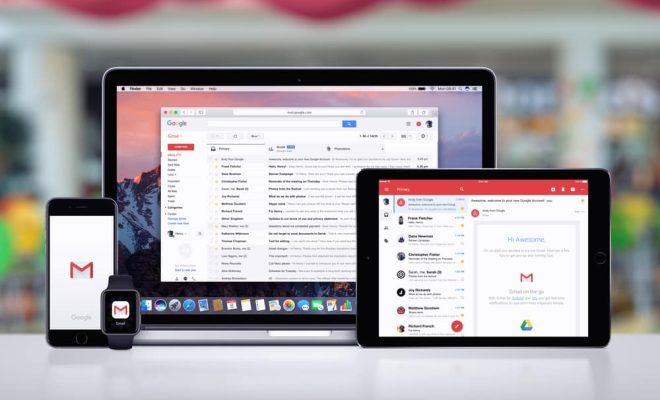
If you’ve ever accidentally archived an important email in Gmail, you know the feeling of despair that ensues. But fear not! Unarchiving an email in Gmail is simple and can be done in just a few clicks.
Step 1: Open Gmail and click on “All Mail”
The first step in unarchiving an email in Gmail is accessing your archived emails. To do this, open Gmail and click on “All Mail” in the left-hand menu. This will show you all of your email, including archived and non-archived messages.
Step 2: Find the archived email
Next, you’ll need to locate the email that you want to unarchive. You can do this by using the search bar at the top of the window or by scrolling through your emails manually. Once you’ve found the email, click on it to open it.
Step 3: Click on the “Move to Inbox” button
With the archived email open, you should see a set of buttons at the top of the screen, including one labelled “Move to Inbox”. Click on this button to move the email out of your archive and back into your inbox.
Step 4: Check your inbox
Once you’ve clicked on the “Move to Inbox” button, the email should immediately appear back in your inbox. To ensure that it has been successfully unarchived, navigate to your inbox to confirm that the email is there.
Step 5: Consider creating a filter
If you find yourself accidentally archiving emails frequently, you may want to consider creating a filter to prevent this from happening again. To do this, click on the down arrow in the search bar at the top of the Gmail window and enter the details of the emails that you want to filter (e.g. emails from a certain sender or with specific keywords). Click on “Create a filter”, select the actions that you want to be taken (e.g. “Never send to spam” and “Mark as important”), and click on “Create filter” to save the filter.
By following these steps, you should be able to unarchive an email in Gmail with ease. And, by creating a filter to prevent accidental archiving in the future, you can help to ensure that your important emails stay where they belong – in your inbox.


