How to Turn Your PC Into a Router
With the increasing demand for internet connectivity in homes and small businesses, routers have become essential devices for creating Wi-Fi networks. However, not everyone can afford to buy an expensive router or may have a spare computer lying around that they can use as their router. Fortunately, it’s possible to turn your PC into a router with a few easy steps. Here’s how to do it.
1. Choose the Right Network Card
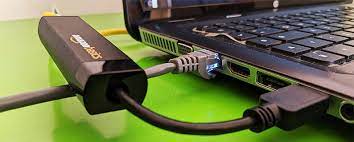
Firstly, you need to make sure that your PC is equipped with two network cards. One card should be connected to the internet source (like a modem or a DSL line), and the other will be used to distribute the internet to other devices. You can check the specifications of your computer to see if it has two network adapters or purchase a separate one.
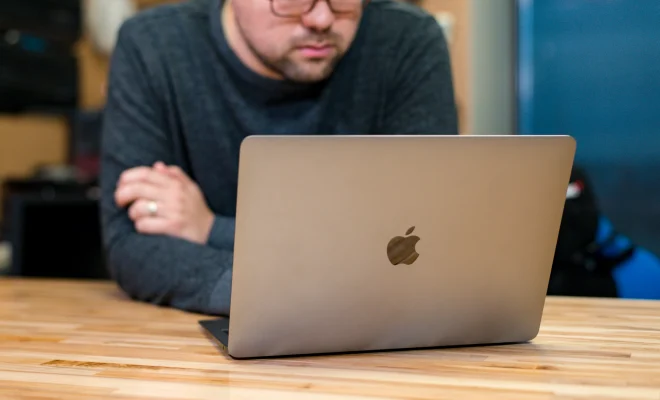
2. Install the Right Operating System
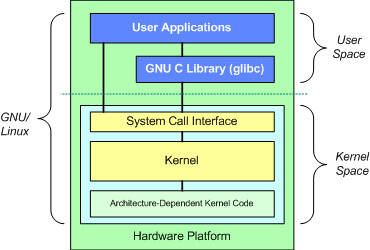
You cannot turn your PC into a router just by installing any operating system. You need to use an operating system that supports routing functionality. Windows, macOS, and Linux are the most commonly used operating systems that can be used to create a router. Windows and macOS operating systems have built-in networking features that allow you to create a wireless access point, but it’s important to note that this functionality is only limited to sharing an existing internet connection via Wi-Fi.
3. Configure Network Settings
After installing the operating system, you need to configure its network settings. To do this, navigate to the control panel or settings menu and select the network and sharing center. From there, you can configure network settings like IP address, subnet mask, default gateway, and DNS servers. These settings will depend on your internet service provider, so it’s best to contact them for assistance.
4. Enable Routing and NAT
To enable routing between the two network interfaces in your PC, you need to make sure that network address translation (NAT) is enabled. NAT is a protocol used to map the private IP addresses of computers on your local network to the public IP address of your internet connection. This step will allow multiple devices to access the internet using one IP address. You can enable NAT through your operating system’s network settings.
5. Enable DHCP
The last step is to enable the Dynamic Host Configuration Protocol (DHCP) server in your PC, which will assign IP addresses to devices on your local network. You can configure DHCP through your operating system’s network settings. Once enabled, you can connect devices to your PC’s network card to access the internet.
Turning your PC into a router is an excellent option if you need a Wi-Fi network for a small business or home. While it may require some technical knowledge, it’s a cost-effective way of creating a network without having to spend money on an expensive router. By following the steps above, you can create a secure and stable internet connection that will allow multiple devices to access the network