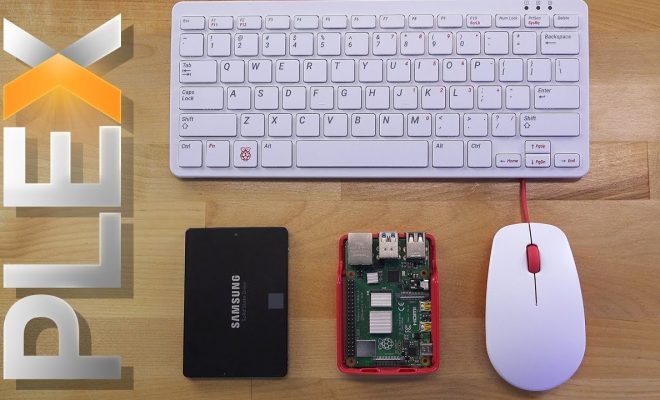
How to Turn a Raspbery Pi into a Plex Server

If you’re looking to set up an affordable and convenient media server, look no further than the Raspberry Pi! With its compact size and powerful processing capabilities, the Raspberry Pi makes for an excellent platform for a Plex server. Plex is a streaming platform that lets you watch movies, TV shows, music, and more on any device. Here are some simple steps to set up your Raspberry Pi as a Plex server.
Step 1: Get your Raspberry Pi
First, you’ll need to purchase or have a Raspberry Pi at your disposal. The Raspberry Pi is a low-cost, single-board computer that can run on different operating systems like Raspbian, Ubuntu, or even a customized version of Windows 10 IoT Core. It’s also small enough to fit in the palm of your hand, making it ideal for a media server.
Step 2: Install Raspbian
The default operating system for Raspberry Pi is Raspbian, and it’s a perfect choice for setting up a Plex server. For installing Raspbian, you need to download the Raspbian image from the official Raspberry Pi website, flash it onto an SD card using software like Etcher, and insert it into your Raspberry Pi. After booting up, you should see the Raspbian desktop.
Step 3: Install Plex Media Server
Now that Raspbian is installed, you can proceed to install the Plex Media Server software. First, you need to add the Plex repository to your Raspberry Pi’s software sources. To do this, open a terminal window and type the following command:
“`
echo deb https://downloads.plex.tv/repo/deb public main | sudo tee /etc/apt/sources.list.d/plexmediaserver.list
“`
This command will add the Plex repository to your Raspberry Pi’s software sources list. Next, update your package list by running:
“`
sudo apt-get update
“`
Finally, install the Plex Media Server package by running:
“`
sudo apt-get install -t stretch plexmediaserver
“`
Once the installation is complete, Plex Media Server will be running on your Raspberry Pi.
Step 4: Configure Plex Media Server
Once Plex Media Server is installed, you’ll need to configure it to recognize your media files. To do this, open a web browser on any device and navigate to http://:32400/web, replacing with your Raspberry Pi’s IP address.
You should see the Plex Media Server dashboard, where you can add your media files. Click on the “Add Library” button, and you can choose the type of media you’re adding (movies, TV shows, music, etc.). You’ll then need to select the appropriate folder that contains your media files.
Once you’ve added your media library, Plex Media Server will automatically start organizing your media files and downloading metadata and artwork. You can then access your media files from any device by logging into your Plex account and streaming your media directly from your Raspberry Pi.
In conclusion, setting up a Plex server on Raspberry Pi is an easy and cost-effective way to create a media center for streaming content on any device. With these simple steps, you can have a fully functional media server up and running in no time!


