How to Transfer Data From Mac to Mac With Migration Assistant

As a Mac user, you may encounter situations where you need to transfer data from one Mac to another. This could be due to a variety of reasons such as upgrading to a new Mac or transferring files to a colleague or family member. Fortunately, Apple makes this process incredibly easy with the built-in Migration Assistant tool. In this article, we’ll take a closer look at how to transfer data from Mac to Mac with Migration Assistant.
What is Migration Assistant?
Before we dive into the steps involved, it’s important to have a basic understanding of what Migration Assistant is. Migration Assistant is a utility that comes pre-installed on every Mac that allows you to transfer data, settings, and applications from one Mac to another. It simplifies the data transfer process by automatically detecting the data that needs to be transferred and transferring it seamlessly.
Step 1: Update your Macs
The first step before transferring data is to ensure that both Macs are running the latest version of macOS. This will help ensure that any compatibility issues between the two Macs are resolved. To check for updates, click on the Apple menu and then click on “Software Update.” If any updates are available, download and install them on both Macs.
Step 2: Connect the two Macs
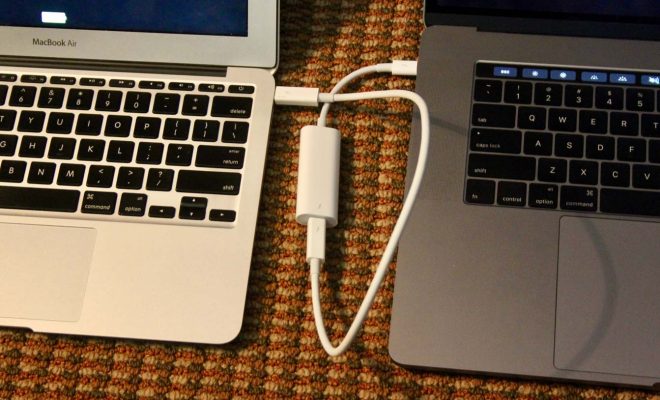
Once both Macs are up to date, the next step is to connect the two Macs. There are two ways to do this:
– Ethernet cable: This is the fastest method for transferring data. Connect the two Macs using an Ethernet cable and make sure that both of them are running and connected to the same network.
– Wi-Fi: This method is slower than using an Ethernet cable but is more convenient. Make sure that both Macs are connected to the same Wi-Fi network.
Step 3: Open Migration Assistant
On the Mac that you want to transfer data from, open Migration Assistant. You can find it in the Utilities folder within the Applications folder, or search for it using Spotlight.
Step 4: Select the transfer method
When you open Migration Assistant, you’ll be presented with two options: “From a Mac, Time Machine backup, or startup disk” or “To another Mac.” Select the option that’s appropriate for you.
Step 5: Select the files to transfer
Once you’ve selected the transfer method, Migration Assistant will ask you to select the files that you want to transfer. You can select all files or use the custom selection option to choose specific files to transfer.
Step 6: Start the transfer
After selecting the files, you’ll be asked to confirm the transfer. Click on the “Continue” button and the transfer process will begin. This may take a while depending on the size of the files being transferred and the transfer method used.
Step 7: Complete the transfer
Once the transfer is complete, you’ll receive a notification on both Macs. You can now disconnect the Macs and start using the data on your new Mac.
In conclusion, transferring data from one Mac to another is a simple and straightforward process thanks to Migration Assistant. By following the steps outlined in this article, you should be able to transfer your files, settings, and applications with ease. So the next time you upgrade your Mac, don’t fret about losing your files – use Migration Assistant and make the transfer process seamless.


