How to Take Professional Photos With an iPhone

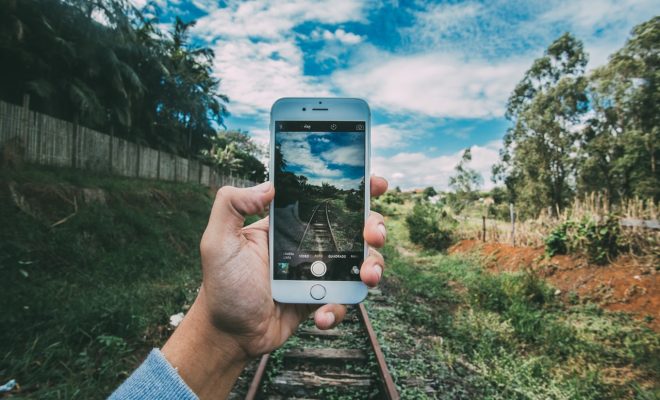
With the advancements in technology, you no longer need a professional camera to take high-quality photos. Your iPhone is not just a device to communicate with, but it also has a fantastic camera that can produce professional-looking photos. Here are some tips to help you take professional photos with your iPhone:
1. Clean the lens
Before taking a photo, make sure to clean the lens of your iPhone. Dirt or smudges on the lens can ruin your picture’s quality, resulting in blurry or hazy shots. Use a microfiber cloth or a lens cleaning kit to clean your lens gently.
2. Adjust the exposure
To adjust the exposure on your iPhone, tap on the screen where you want to focus, then swipe up or down to adjust the exposure slider. This feature allows you to brighten or darken the photo as necessary, helping you capture the perfect photo even in low light.
3. Use HDR mode
High Dynamic Range (HDR) mode is a feature that combines multiple images to produce a more detailed photo. It’s perfect for taking photos with challenging lighting conditions. To activate HDR mode, go to Settings > Camera > HDR, and tap on “Auto HDR.”
4. Invest in camera apps
While the iPhone camera app is excellent, investing in third-party camera apps can help you improve your photo quality. These apps offer advanced features that allow you to optimize your camera settings, add filters and edit your photos. Some of the best camera apps for the iPhone include Camera+, ProCamera, and Halide.
5. Use the rule of thirds
The rule of thirds is a technique used in photography and graphic design, which divides an image into thirds both vertically and horizontally to create a balanced and visually appealing composition. To
use this technique, align the subject in the center of one of the intersecting points, which will make the photo more aesthetically pleasing.
6. Experiment with angles
Don’t be afraid to experiment with different angles to capture unique and exciting shots. Hold your iPhone from different heights, change your positioning, or tilt it for a new perspective. You’ll be surprised how changing the angle can make your photos stand out.
7. Edit your photos
Lastly, editing your photos can take them from good to great. The iPhone’s built-in photos app has basic editing tools, such as crop, rotation, and brightness adjustment. However, for more advanced edits, you can download editing apps such as Adobe Lightroom, VSCO and Snapseed.
Conclusion
With the iPhone camera’s capabilities, you don’t need professional equipment to capture professional-looking photos. By following these tips, you can take outstanding photos with your iPhone and elevate your photography skills.


