How to Splice an RCA Cable

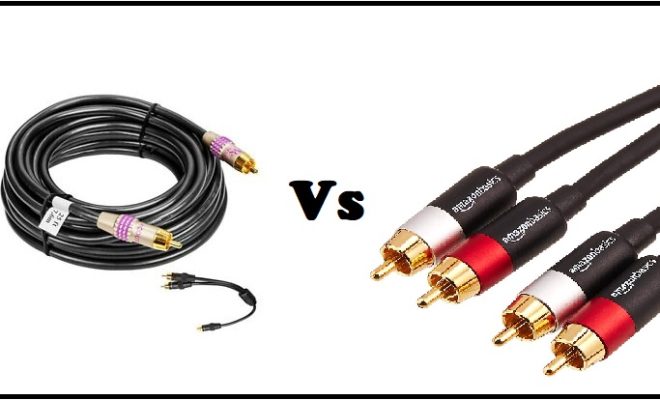
RCA cables are a common type of audio and video cables used to connect various devices such as speakers, televisions, DVD players, and gaming consoles. These cables are reliable in transmitting signals, but they can break or get damaged over time. Fortunately, splicing an RCA cable is a simple repair you can perform at home, saving you the cost of buying a new cable. In this article, we will guide you on how to splice an RCA cable.
Things you will need
– Scissors
– Wire stripper
– Soldering iron
– Solder
– Heat shrinks
– Electrical tape
Step 1: Cut the damaged area
The first step in splicing an RCA cable is to identify the area that needs repair/cutting. Use scissors to cut off the damaged part of the cable. Make sure you cut from the middle of the damaged part to avoid damaging any good wire.
Step 2: Strip the ends
After cutting, strip the cut ends of the cable using a wire stripper. Strip off about 1 inch of the outer insulation from each end of the RCA cable to expose the inner wires.
Step 3: Solder the wires
Take note of the color-coding of your RCA cables. Typically, RCA cables are made up of two or three wires, red, white, and yellow. Take the same color wires from each end of the cable and solder them together.
Use a solder iron to apply heat to the wires and then melt the solder on top of the wire. This way, the solder will hold the wires together. Make sure the solder coats the wire with an even layer. After soldering the wires, hold each joint in place until the solder cools down.
Step 4: Insulate the joints
After soldering the wires, slip a heat shrink over each joint and then heat it up using a heat gun. The heat shrink will protect the joint and keep the wires from coming apart. Alternatively, you can use electrical tape to wrap the joints securely.
Step 5: Test the cable
After splicing the RCA cable, it’s time to test it to see if it’s working correctly. Plug the cable into a device and check for a sound or video signal. If the device recognizes the RCA cable and delivers the expected signal, congratulations, you have successfully spliced an RCA cable. If not, you may need to revisit the soldering process to ensure the wires are properly soldered without touching each other.
Conclusion
Splicing an RCA cable is a simple and cost-effective repair you can perform at home. However, it requires precision and care. Always handle the wires with caution to avoid causing damage or short circuiting. Also, use the right tools and materials to ensure the best possible result. With this guide, you should be able to splice an RCA cable like a pro.


