How to Set Up Google Chromecast
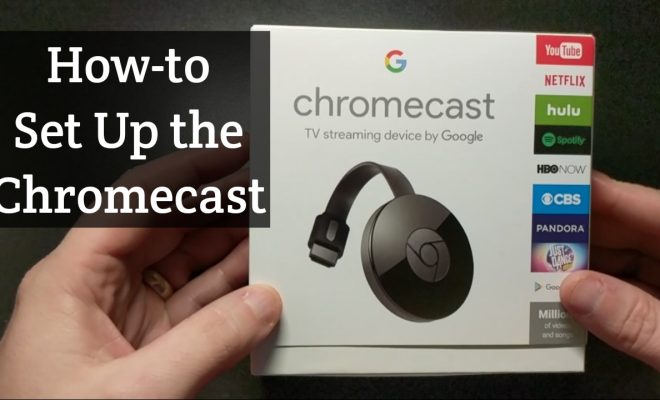
Google Chromecast is a small and affordable device that allows you to stream content from your smartphone, tablet, or computer directly to your television. With Chromecast, you can enjoy movies, TV shows, music, and even games on the big screen without having to deal with cables. This step-by-step guide will walk you through setting up your Google Chromecast so that you can start streaming in no time.
Step 1: Unpack and Prepare
Take your Google Chromecast out of the box and ensure you have all of the important components. The box should include a Chromecast device, a power adapter, a USB cable for power, and an HDMI extender. You should also have a Wi-Fi network available for connecting.
Step 2: Connect Your Chromecast
Connect the smaller end of the USB cable to your Chromecast device and the other end to either the power adapter (plugged into an electrical outlet) or directly into a USB port on your television if it provides enough power. Then connect the Chromecast to an available HDMI port on your TV using either the built-in HDMI plug or the extender if necessary.
Step 3: Change TV Input
Using your TV remote, switch inputs until you reach the appropriate HDMI input where you connected your Chromecast. You should see a “Set me up” screen with the Chromecast logo.
Step 4: Download the Google Home App
On your smartphone or tablet, download and install the Google Home app. The app is available for both Android and iOS devices through their respective app stores.
Step 5: Set Up Your Device in the App
Open the Google Home app and sign in with your Google account. Tap on ‘Get Started’, then click on ‘Set up new devices’ followed by ‘Set up new devices in your home’. The app will search for your Chromecast; when it finds the device, tap on it to start the setup process.
Step 6: Connect to Wi-Fi
The Google Home app will ask you to connect your Chromecast to your Wi-Fi network. Select your preferred network and enter the password if necessary. The Chromecast will then connect to the internet through your Wi-Fi network.
Step 7: Link with a Google Account
For a personalized experience, link your Chromecast with a Google account. This allows you to access YouTube, Google Photos, and other services on your TV. Follow the instructions provided in the app to complete this step.
Step 8: Choose a Name and Location
Give your Chromecast a unique name and set its location. This is useful if you plan on having multiple Chromecasts throughout your home, as it helps distinguish devices. Once named, tap ‘Continue’.
Step 9: Install Updates
If there are updates available for your Chromecast, the Google Home app will prompt you to install them. Allow the device to update; this may take a few minutes.
Step 10: Start Casting
You’re all set! Now you can begin using your Google Chromecast to stream content from compatible apps on your phone, tablet, or computer. Look for the ‘cast’ icon within these apps, tap on it and select your Chromecast device. The content will begin playing on your TV.
Conclusion:
Google Chromecast provides an easy and affordable way to stream content directly to your television, allowing you to enhance your viewing experience without fussing with cables or remote controls. By following the steps outlined in our guide above, you can have your Google Chromecast up and running in no time.

