How to Run Windows From a USB Drive

In today’s fast-paced world, having the flexibility to take your digital work environment with you is essential. Running Windows from a USB drive allows you to access your files, applications, and settings from any compatible computer. This comprehensive guide will walk you through the process of setting up a bootable USB drive so you can run Windows on the go.
Step 1: Gather the Necessary Tools and Materials
Before we get started, make sure you have the following:
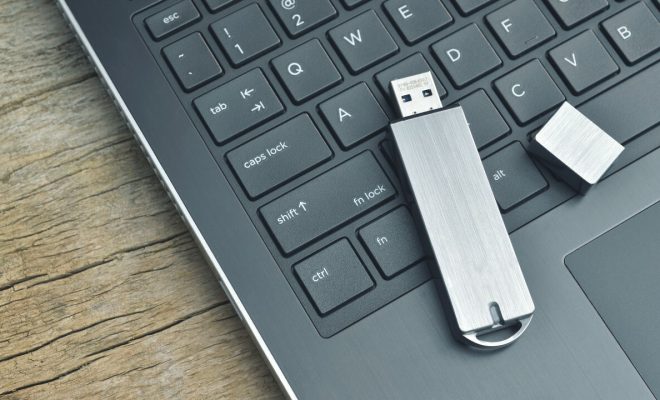
1. A high-quality USB flash drive with at least 8 GB of storage space.
2. A Windows computer or access to one (this will be used to create the bootable USB drive).
3. A genuine copy of the Windows ISO file. You can download one directly from Microsoft’s website.
Step 2: Format the USB Drive
First, plug your USB drive into your computer. To properly prepare it for use as a bootable Windows-drive, you will need to format it. Follow these steps:
1. Open ‘This PC’ (formerly ‘My Computer’) on your Windows system.
2. Locate and right-click on your USB drive and select ‘Format’.
3. In the Format window, choose NTFS as the file system, enable ‘Quick Format,’ and click ‘Start’.
4. Wait for the formatting process to complete.
Step 3: Create a Bootable Windows USB Drive
Now it’s time to create a bootable Windows USB drive using third-party software such as Rufus or Microsoft’s own Media Creation Tool.
Using Rufus:
1. Download and install Rufus from their official website.
2. Launch Rufus and select your USB drive from the ‘Device’ dropdown.
3. Click on ‘Select’ next to ‘Boot selection’ and browse for your downloaded Windows ISO file.
4. Press ‘Start’ once you have selected the correct ISO file.
5. Rufus will ask you to confirm that you’re okay with deleting all data on the USB drive. Click ‘OK’ to proceed.
6. Allow Rufus to create your bootable Windows USB drive; this may take a few minutes.
Using the Media Creation Tool:
1. Visit Microsoft’s website and download the Windows Media Creation Tool.
2. Install and run the tool on your computer.
3. Choose ‘Create installation media…’ and click ‘Next’.
4. Select your desired language, Windows edition, and system architecture, and click ‘Next’.
5. Pick ‘USB flash drive’ and click ‘Next’.
6. Select your USB drive from the list of available drives and click ‘Next’.
Once done, your bootable Windows USB drive will be ready for use.
Step 4: Boot from the USB Drive
Now that we’ve prepared our bootable USB drive, it’s time to actually run Windows from it.
1. Safely eject the USB drive from your computer.
2. Insert the USB drive into the target computer and restart it.
3. As the computer boots up, press the appropriate key to enter its BIOS or UEFI settings (common keys include F2, F10, F12, DEL).
4. Locate your boot priority settings and move the USB drive to be the first boot device.
5. Save changes and exit the BIOS or UEFI settings.
6. The computer should now boot from your USB drive, loading Windows as if it were installed directly on your system.
And there you have it – you can now run Windows from a USB drive whenever needed! This portable solution will allow you to work on a familiar digital environment no matter where you are or what machine is available to you.


