How to Revive Windows 10 With a Recovery USB

Windows 10 is one of the most popular operating systems in the world, and for good reason. Not only is it user-friendly, but it’s also renowned for its unmatched stability and reliability. However, like every other operating system, Windows 10 is not immune to errors and crashes. In the event of a system failure, the best way to revive Windows 10 is by using a recovery USB.
A recovery USB is a bootable USB drive that contains a complete copy of the operating system along with other important tools and utilities that can be used to repair or troubleshoot your computer. If your Windows 10 system is experiencing issues like a blue screen of death, constant freezing, or is generally unresponsive, a recovery USB can help revive your PC.
So, how do you create a recovery USB for your Windows 10 system? Here are the steps:
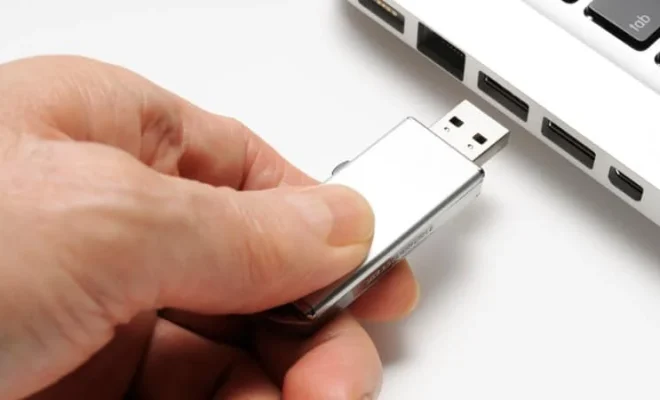
Step 1: Prepare a USB flash drive of at least 8GB capacity.
Step 2: Open the Windows Create a Recovery Drive tool by searching for “Create a Recovery Drive” in the start menu or the Cortana search bar.
Step 3: Select the option “Back up system files to the recovery drive” and click “Next”.
Step 4: Choose the USB flash drive you wish to use and click “Next”.
Step 5: Click “Create” to start creating the recovery USB.
Once the process is complete, you will have a bootable USB drive that can be used to revive your Windows 10 system. The next step is to use the recovery USB to revive your computer.
To do this:
Step 1: Insert the recovery USB into your PC.
Step 2: Restart your computer and enter the BIOS settings by pressing the appropriate key during bootup. The key to enter the BIOS settings varies depending on the manufacturer of your system, but common keys include F2, Del, or Esc.
Step 3: In the BIOS settings, navigate to the boot menu and select the option to boot from the USB drive.
Step 4: Save the changes and exit the BIOS settings, then wait for your computer to boot from the USB drive.
Step 5: Once the recovery environment loads, you will be presented with several options, including system restore, startup repair, and command prompt.
Step 6: Choose the appropriate option based on the issue you are experiencing.
If you’re unable to pinpoint the exact issue, the recommended option is to choose the “System Restore” option. This will restore your computer to an earlier state when it was working properly. Simply follow the on-screen instructions to complete the process.
In conclusion, a recovery USB is a simple and effective tool to revive your Windows 10 system. Creating a recovery USB is easy, and it can help you avoid the frustration that comes with system crashes and errors. With these simple steps, you can create a recovery USB and revive your Windows 10 system with ease.


