How to Make an Apple Genius Bar Appointment
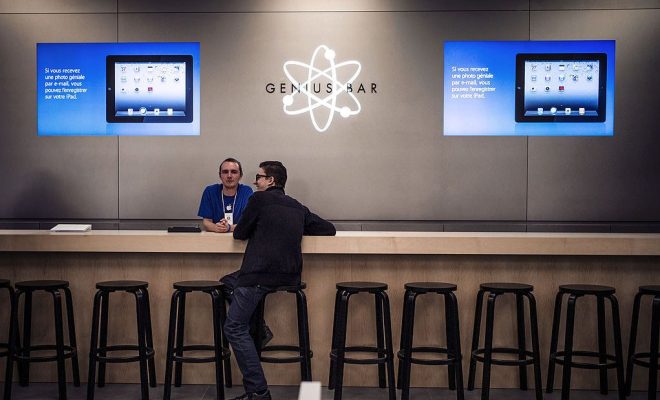
Making an appointment at the Apple Genius Bar is typically the best way to get help with any Apple device-related issue. Apple’s Genius Bar is a specialized customer support area located in Apple stores that is staffed by Apple’s own trained technicians, known as Geniuses. Here is a step-by-step guide to making an appointment at the Apple Genius Bar.
Step 1: Visit the Apple Support Website
To begin the process of making an appointment at the Genius Bar, go to the Apple Support website. This can be accessed by typing ‘apple.com/support’ into your browser. Once on the page, scroll to the bottom and click on the contact support link.
Step 2: Choose the Device
On the contact support page, you will be required to select the device or product you are having an issue with. This could be an iPhone, iPad, Mac, Apple Watch, or other Apple product. Click the appropriate product, and you will be taken to a new page with a host of support options.
Step 3: Identify the Issue
You will need to choose the best-suited topic that aligns with the issue you are experiencing. Some of the popular topics include hardware issues, software issues, battery and charging issues, and general troubleshooting.
Step 4: Schedule an Appointment
Once the relevant topic has been selected, you will be presented with different support options, including chat, phone, and email. However, if you need in-person support, click on the ‘Bring in for Repair’ option, which will direct you to a page where you can book an appointment at an Apple Store.
Step 5: Choose A Location
As soon as you choose the option to bring in your Apple device, you will be directed to the location finder page. Enter your zip code or city name and select the nearest Apple store. If the nearest store is too far away, try selecting a different Apple store that is closer or one that has more available appointments.
Step 6: Select A Convenient Date and Time
After selecting the store, you will be presented with a calendar to choose an appropriate date and time that is convenient for you. Look over the dates and pick one that works best with your schedule. You’ll have the choice of morning, afternoon or evening appointments.
Step 7: Confirm Appointment Details
Once a date and time have been chosen, you will be asked to provide your contact details, including your full name, phone number, and email address. Then, you will need to verify the details of your appointment, and you’ll get an email confirmation with the date and time of your appointment.
Conclusion
Booking an appointment with the Apple Genius Bar is a straightforward process that can take a few minutes. It is important to remember that Apple retail locations often get busy, especially during peak hours, so it is advisable to book the appointment well in advance. Apple’s customer support team is always on hand to help you with any difficulties you may face in the booking process, so don’t be hesitant to contact them if you need further assistance.

