How to Install Windows 11 on an Old PC

As soon as Microsoft released the Windows 11 operating system, PC enthusiasts around the world immediately began to show interest in updating their systems to the newest version. However, not every PC will be able to run Windows 11 out of the box. Hence, there’s been a lot of buzz around whether it’s possible to update an older Windows-based machine to Windows 11. The good news is that it’s now possible for anyone with an older Windows-based computer to install this latest version of Windows. The following guide will take you through the steps to install Windows 11 on an old PC.
1. System Requirements
Before moving ahead to install Windows 11, it’s essential to ensure your old computer meets the minimum system requirements. Here are the essential system requirements for Windows 11:
• A 1GHz or faster processor with two or more cores on a compatible 64-bit processor or System on a Chip (SoC).
• 4GB RAM or more.
• A minimum of 64GB storage.
• DirectX 12 compatible graphics.
• Trusted Platform Module (TPM) version 2.0 or higher.
If your old PC meets all of these requirements, then your machine is ready for Windows 11.
2. Check for Windows 11 Compatibility
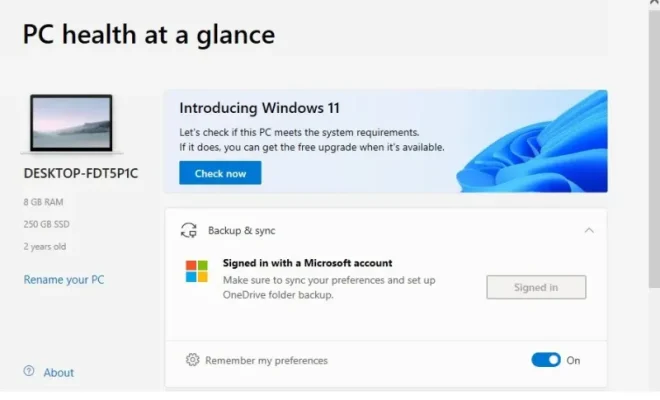
The second step is to check if your old computer is compatible with Windows 11. Microsoft has designed a tool called the PC Health Check application that helps PC users check whether their system can run Windows 11. Download and run this tool to check for compatibility. If your computer is compatible, you can move to the next step.
3. Download Windows 11 ISO
The next step in installing Windows 11 is to obtain a Windows 11 ISO file from Microsoft. You can download it from Microsoft’s official website or other trusted websites. Ensure you have a fast internet connection as the download file size is pretty large. You can also download Windows 11 via the Windows Insider program, but this can result in less stability as it’s a beta version of Windows 11.
4. Create a Bootable USB drive
Once you’ve downloaded the Windows 11 ISO, the next step is to create a bootable USB drive. To do so, connect a USB drive with at least 8GB space and ensure there’s nothing on the drive that you need. You will then need to use a third-party tool like Rufus to burn the ISO to the USB drive.
5. Install Windows 11
After creating the bootable USB drive, shut down the older PC and insert the drive. Switch on the computer, and you’ll be prompted to boot from the USB drive. Press any key to begin the installation process. Once the setup begins, follow the on-screen instructions and choose the upgrade option to install Windows 11 on your machine.
6. Install Drivers and Updates
After installing Windows 11 successfully, the final step is to download and install any drivers and updates that your machine needs to function correctly. Check for driver updates and stability updates from the manufacturers’ websites and install them accordingly.
In summary, installing Windows 11 on an old PC isn’t rocket science. However, the process requires some technical know-how, and the above guide should help you understand the necessary steps for a smooth installation. Always remember to back up your data before you begin the installation process.


