How to Install or Uninstall the Google Chrome Browser

Chrome is a popular web browser that is widely used across the globe. However, it is not always installed on every computer or device. This article will guide you through the process of installing or uninstalling Google Chrome.
How to Install Google Chrome:
1. Go to the Google Chrome website. Type “Google Chrome” into a search engine or go to the website directly at “https://www.google.com/chrome/”.
2. Click the “Download Chrome” button.
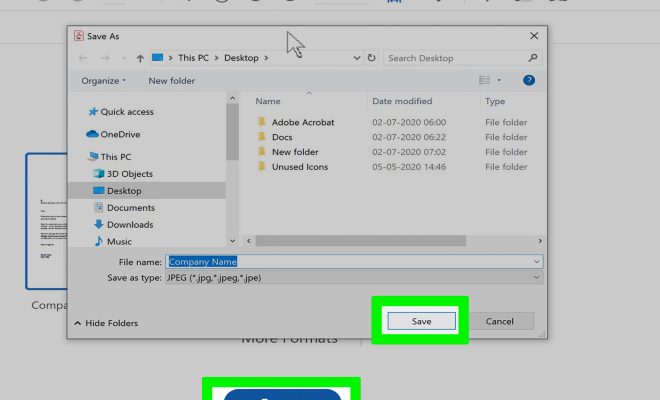
3. A pop-up window will appear, asking if you want to save the file. Click “Save”.
4. Wait for the file to download. Depending on your internet speed, this may take a few seconds or a few minutes.
5. Once the download is complete, click on the downloaded file in your downloads folder or click on the pop-up in the bottom left corner of your screen.
6. A new window will appear, asking if you want to install Chrome. Click “Install”.
7. Chrome will then begin to install. The process should only take a few minutes.
8. Once the installation is complete, click “Open” to open Google Chrome.
How to Uninstall Google Chrome:
1. Click on the Windows Start button in the bottom left corner.
2. Click on the Settings gear icon.
3. Scroll down and click on “Apps”.
4. Find Google Chrome in the list of installed programs.
5. Click on Google Chrome, then click “Uninstall”.
6. A new window will appear, asking if you want to uninstall Chrome. Click “Uninstall” again.
7. Wait for the uninstall process to complete. This may take a few minutes.
8. Once Chrome is uninstalled, it will no longer appear in your installed programs list.
In conclusion, whether you want to download the Google Chrome browser or remove it from your device, the process is relatively simple. Follow these steps to ensure a successful installation or uninstallation.