How to Fix Webcam or Camera Not Working in Windows
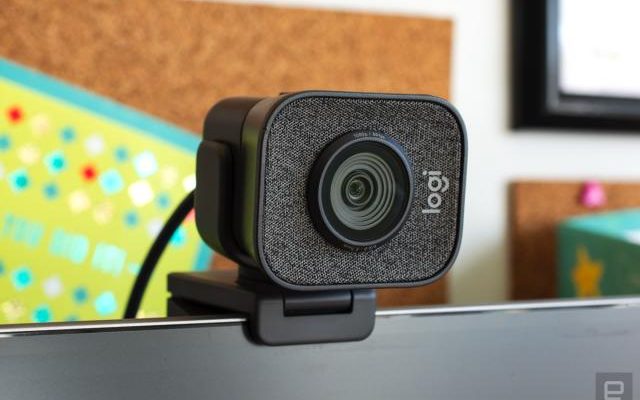
Webcams and cameras are important devices for streaming, video conferencing, and taking photos on Windows computers. However, these devices may sometimes fail to work due to software or hardware issues. Here are some tips on how to fix webcam or camera not working in Windows:
1. Check camera settings
The first thing to do is to make sure that the camera or webcam is enabled in Windows settings. Go to Settings > Privacy > Camera and toggle on “Allow apps to access your camera” if it’s off.
2. Check device drivers
An outdated or corrupted driver may also cause the camera or webcam to stop working. Launch Device Manager (Right-click on the Start button and click on Device Manager) and locate your device. Right-click on it and select “Update driver” to check for updates. If updates are available, download and install them.
3. Restart Computer
Sometimes a simple restart can fix any temporary glitch with the camera or webcam. Restart the computer, and again, try to use the camera or webcam.
4. Check antivirus software
Antivirus software may sometimes disable the webcam, thus preventing it from working properly. Temporarily disable your antivirus software and check if the camera or webcam is working.
5. Allow access to apps
Access to the camera or webcam may be restricted by the apps running on your computer. Go to Settings > Privacy > Camera > Choose which apps can access your camera and turn on access for the apps that are necessary.
6. Check physical connections
If the camera or webcam is connected through USB, check if it is properly connected to the computer. Try using a different USB port or cable to eliminate any issues that may arise from an incorrect connection.
In conclusion, the above steps will help you to troubleshoot a webcam or camera that is not working on Windows. In the event that none of these steps seem to work, check with the manufacturer or seek further help from a qualified technician.