How to Fix Valorant’s Download Speed Stuck at 0.1KB/s on Windows

Valorant is an incredibly popular first-person shooter game that has gained a massive fan following in a short amount of time. However, some players have reported issues with the game download speed stuck at 0.1KB/s on Windows. This can be a frustrating issue, especially when you are excited to play the game. Fortunately, there are a few things you can do to resolve the issue and speed up your download.
Here are some solutions that can help you fix Valorant’s download speed stuck at 0.1KB/s on Windows:
1. Check Your Internet Connection
Before trying anything else, check your internet connection. Ensure that it is stable and strong enough to support the download. If other devices can connect to the internet without difficulty, you can rule out an issue with your internet connection.
2. Disable Windows Firewall
Sometimes, Windows Firewall can interfere with the game download speed. To disable it, follow these steps:
a. Press the Windows key + R to open the Run dialog box.
b. Type in “Windows Defender Firewall” and press Enter.
c. Click on “Turn Windows Defender Firewall on or off” in the left panel.
d. Tick “Turn off Windows Defender Firewall (not recommended)” for both the private and public networks.
e. Click OK to save the changes.
3. Use a VPN
If you are experiencing issues with your internet service provider, you can use a VPN to resolve the issue. A VPN creates a secure and encrypted connection between your device and the internet. You can try a VPN such as NordVPN or ExpressVPN to speed up your game download.
4. Change Your DNS Settings
Changing your DNS (Domain Name System) settings can also speed up your download. Follow these steps to change your DNS settings:
a. Press the Windows key + R to open the Run dialog box.
b. Type in “control” and press Enter.
c. Click on “Network and Sharing Center.”
d. Click on your current internet connection.
e. Click on “Properties.”
f. In the Properties dialog box, select “Internet Protocol Version 4 (TCP/IPv4)” and click on “Properties.”
g. Select “Use the following DNS server addresses.”
h. Type in “8.8.8.8” for the “Preferred DNS server.”
i. Type in “8.8.4.4” for the “Alternate DNS server.”
j. Click on “OK” to save the changes.
5. Reboot Your Router
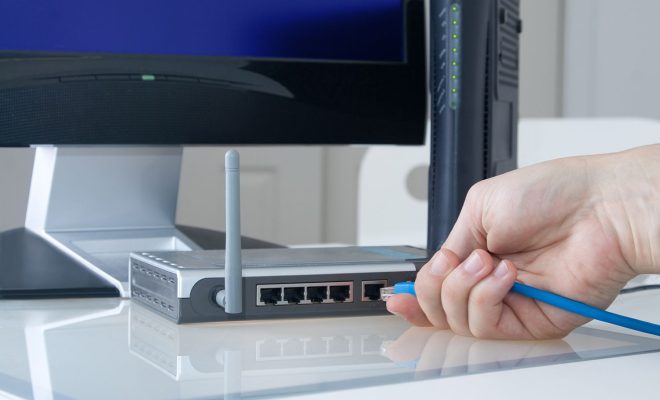
Lastly, you can try rebooting your router to resolve the issue. To do this, unplug your router from the power source and wait for 30 seconds before plugging it back in. This will reset your internet connection and may resolve the issue.


