How to fix a broken iPad screen

Introduction:
A broken iPad screen can be a constant source of frustration, and it may seem difficult to restore it to its original state. However, there’s no need to worry – with a few tools and some patience, you can repair your iPad screen by following these simple steps.
Please note that this guide is for educational purposes only. If you’re not comfortable with performing the repair or unsure about the process, we recommend taking your device to a professional. Additionally, attempting a repair may void your warranty.
Tools and Materials Needed:
1. Replacement iPad screen
2. Screwdriver (specifically, a Phillips #000 and a tri-point Y00)
3. Plastic opening tools or spudgers
4. Tweezers
5. Heat gun or hair dryer
6. Adhesive strips or glue
Step 1: Turn off the iPad and Remove the SIM Card Tray
Before doing anything else, power off your iPad and remove the SIM card tray (found on the side of the device) using either your SIM card removal tool or a paperclip.
Step 2: Soften the Adhesive Around the Screen
Using a heat gun or hair dryer, gently warm up the edges of your iPad’s screen to soften the adhesive that holds it in place. Make sure not to apply too much heat as it can damage internal components.
Step 3: Lift and Remove the Screen
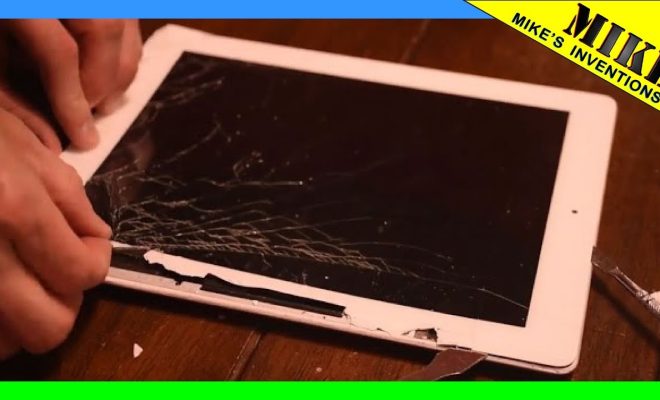
Carefully work an opening tool or spudger around the edges of your screen without applying too much pressure (this could further crack your display). Once you’ve separated the screen from its frame, slide it off carefully while minding any cables still attached.
Step 4: Detach Internal Cables
You should see several cables connecting your screen to the main body of your iPad. Using tweezers, detach each cable carefully by unlocking the clips holding them in place.
Step 5: Remove the Screen
After detaching the cables, you can now remove your broken iPad screen. Store it in a safe location if you plan to recycle or dispose of it properly.
Step 6: Prepare Your Replacement Screen
Take your new screen out of its packaging and test its functionality by connecting the cables before securing it in place. This will allow you to verify if the screen works as intended.
Step 7: Attach the New Screen
Once you’ve confirmed that your replacement screen is functioning properly, proceed to attach its cables. Then, apply adhesive strips or glue around the edges of the display before carefully lowering it into position. Press down gently around the edges to secure it.
Step 8: Reassemble Your iPad
Now that your new screen is in place, reinsert the SIM card tray and power on your device. If everything appears to be functioning correctly, congratulations! You’ve successfully replaced your broken iPad screen.
Conclusion:
Fixing a broken iPad screen may seem daunting, but with patience and the right tools, it’s an achievable task. Remember to work slowly, follow each step attentively, and take your device to a professional if you’re unsure about handling the repair yourself. Good luck!


