How to Factory Reset a Toshiba Laptop

If you have a Toshiba laptop that you want to reset to its factory settings, there’s good news: it’s a fairly straightforward process that can help you fix a range of issues and get your device back to its original state. Whether you’re planning to sell your laptop, want to start fresh, or have encountered a problem that requires a clean slate, resetting to “factory settings” will erase all personal data, programs and settings from your computer, restoring it to the way it was when it came out of the box.
In this guide, we’ll walk you through the process of resetting your Toshiba laptop to its factory state, with tips and tricks to help you make the most of your reset experience.
Before trying to perform a factory reset on your Toshiba laptop, make sure to back up any important data that you want to keep, as your computer will be wiped clean during the reset process. This includes saving files, pictures, music, documents, and any important software or licenses that you might have. Once you’re ready, follow the steps below to factory reset your Toshiba laptop:
Step 1: Turn off your Toshiba laptop
Before you start resetting your laptop, make sure to save any open files or programs and shut down your computer properly.
Step 2: Restart your laptop with the Recovery or Installation media
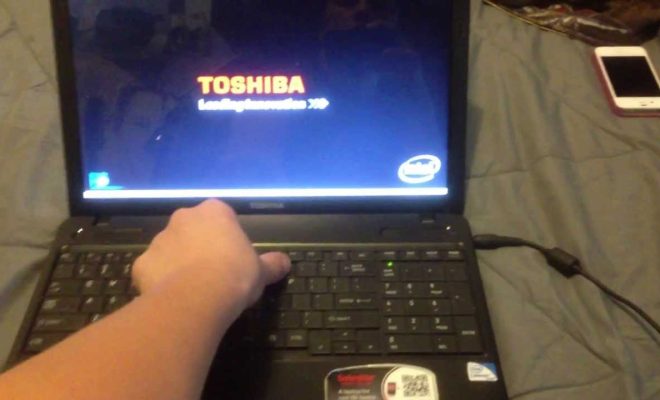
To reset your Toshiba laptop to its factory settings, you’ll need to have the Recovery or Installation media, which is a set of CDs or DVDs that came with your laptop when you first bought it. Insert the first disk and restart your computer, then press and hold the F12 key to enter the Boot menu. From there, select the CD/DVD option and press Enter.
If your Toshiba laptop doesn’t come with the Recovery or Installation media, you can download it from the Toshiba support website and create a bootable USB or DVD.
Step 3: Choose the option to reset your Toshiba laptop
Once the computer starts from the recovery media, follow the on-screen instructions to choose the language and keyboard layout, and select the Reset option. The reset process might take a few minutes to complete, so be patient and don’t interrupt it.
Step 4: Configure your Toshiba laptop
After the reset process is complete, your Toshiba laptop will restart and display a welcome screen. Follow the on-screen instructions to configure your laptop, including setting up the operating system, users, date and time, and internet connection.
Step 5: Install software and other applications
Once you’ve reset your Toshiba laptop to its factory settings, you’ll need to reinstall the necessary software and applications that you want to use. If you’ve created a backup of your files and applications, you can restore them to your computer. Otherwise, you’ll need to manually download and install all the software and applications that you want to use.
Some tips and tricks to make the most of your Toshiba laptop factory reset experience:
– Keep your Toshiba laptop’s power cord plugged in while you’re performing a factory reset to avoid any interruptions that may cause damage to your system.
– If your Toshiba laptop is running slower than usual, consider using a system optimizer or software cleaner before resetting to factory settings.
– Make sure you have the latest Windows and Toshiba software and drivers installed to keep your computer running smoothly.
Wrapping up
Resetting a Toshiba laptop to its factory settings takes some effort, but it’s often the best way to fix issues that you might be having. With a little bit of know-how and patience, you can restore your computer to its original state and get back to using it as new. Remember to back up your important files and prepare your Recovery or Installation media before starting the reset process, and follow the step-by-step instructions carefully to ensure a successful reset.


