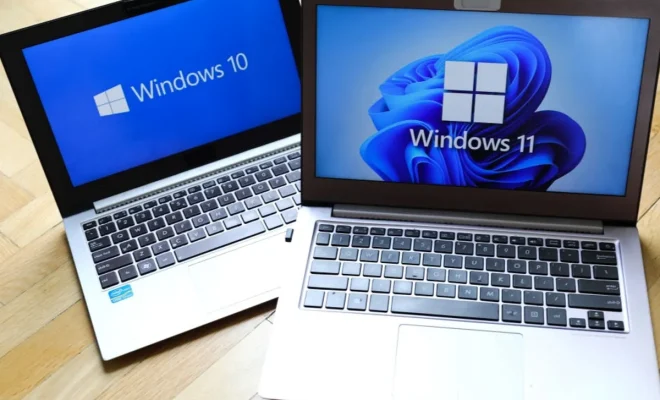
How to Convert Legacy BIOS to UEFI in Windows 10 and 11

If you have an older computer running on Windows 7 or earlier, it may still use BIOS (Basic Input/Output System) for startup. However, modern computers use UEFI (Unified Extensible Firmware Interface), which offers better security features and faster boot times. In this article, we’ll show you how to convert legacy BIOS to UEFI in Windows 10 and 11.
Before we start, it is important to know that this process can be risky and should only be done if you have a good understanding of the manual process. A wrong step or mistake during the conversion can lead to a bricked computer. Therefore, we highly recommend backing up your important files and have a Windows installation media or recovery drive in case something goes wrong.
Step 1: Check Compatibility
The first thing you need to do is check whether your computer is compatible with UEFI. In order to do this, you need to check for a few things:
– Your computer should have a 64-bit processor
– The motherboard should be a UEFI-compatible one
– Windows version should be 64-bit
If your computer doesn’t meet these requirements, then unfortunately you won’t be able to convert to UEFI.
Step 2: Create a Bootable USB Drive
To convert your system to UEFI, you need to boot your computer from a UEFI-compatible bootable USB drive. You can use the Windows Media Creation tool to create a bootable USB drive from the official Windows site.
Step 3: Boot from the USB Drive
Once you have created a bootable USB drive, connect it to your computer and restart your computer. During the boot process, you need to press the key (it could be F2, F8, F10, or Delete, depending on your computer). This will take you to the boot menu. From the boot menu, select the USB drive with UEFI support, and press Enter.
Step 4: Convert Legacy BIOS to UEFI
Once you have booted your computer from the USB drive, you will see the Windows setup screen. Press Shift and F10 simultaneously to open the Command Prompt.
Type “diskpart” in the Command Prompt window and press Enter. Next, type “list disk” and press Enter. This will show you a list of connected disks. Make a note of the disk number you want to convert to UEFI.
Type “select disk X” (X is the number of the disk you want to convert) and press Enter. Next, type “clean” and press Enter. This will clean the selected disk, including all the data on it. Afterwards, type “convert gpt” and press Enter. This will convert your disk to a GPT partition, which is necessary for UEFI boot.
Exit the Command Prompt window and continue with the installation process. You can now install Windows in UEFI mode.
In conclusion, converting a legacy BIOS to UEFI can significantly boost your computer’s performance and security features. However, it is a risky process, and should only be attempted if you are confident in your technical abilities. Be sure to backup your important files and have a Windows installation media or recovery drive in case something goes wrong. By following these steps outlined above, you can successfully convert your legacy BIOS to UEFI in Windows 10 and 11.


