How to Connect PSVR to a PC

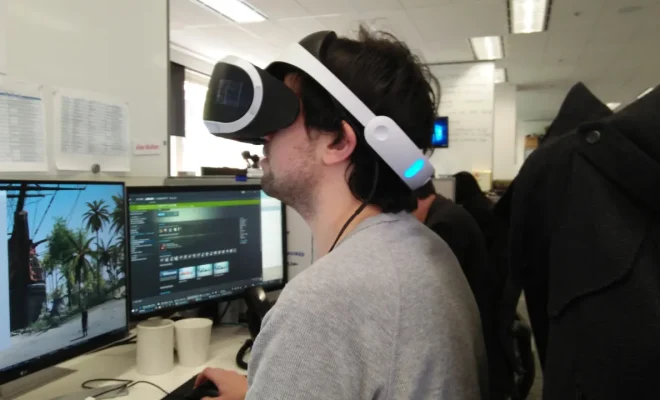
The PlayStation VR (PSVR) headset is not just restricted to playing PlayStation games, as it can also be connected to a PC. This not only offers more gaming options but also provides a more immersive experience for PC gamers. Here’s how to connect PSVR to a PC:
1. Check PC compatibility
Before getting started, ensure that your PC meets the minimum requirements to use the PSVR. This includes an Intel Core i5-4590 or higher, a GeForce GTX 970 or better graphics card, and at least 8GB of RAM.
2. Install SteamVR and Trinus PSVR software
In order to use the PSVR on a PC, users need to install the SteamVR and Trinus PSVR software. SteamVR is a virtual reality platform that allows users to access a variety of VR games, while Trinus PSVR is an application that converts the PSVR headset into a PC VR headset.
3. Connect PSVR to PC
Use an HDMI cable to connect the PSVR processing unit to the PC. Then, connect the PSVR headset to the processing unit with another HDMI cable, and use a USB cable to connect the processing unit to a USB port on the PC.
4. Configure Trinus PSVR settings
After installing Trinus PSVR, users need to configure the settings to be able to use the PSVR on a PC. This includes selecting the right display mode and screen size, changing the rotation and rendering angle, and adjusting the position tracking settings.
5. Launch SteamVR
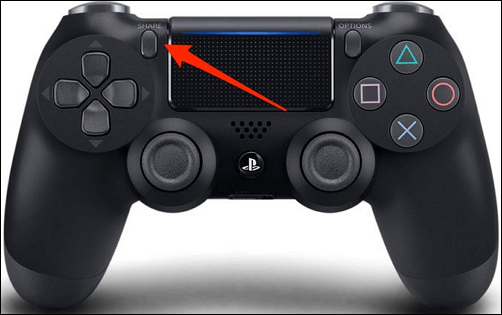
Once the settings have been configured, users can then launch SteamVR and start playing VR games. When playing games, users can use the PSVR headset to look around and move their head, while using the PC keyboard or gamepad to control the movements of their character.
Connecting the PSVR to a PC offers an expanded range of gaming options, allowing gamers to experience the thrill of VR games on a platform they are already familiar with. With this guide, you are now equipped to connect your PSVR headset to your PC, and start enjoying the immersive VR gaming experience on offer.


