How to Connect Magic Keyboard to a Mac

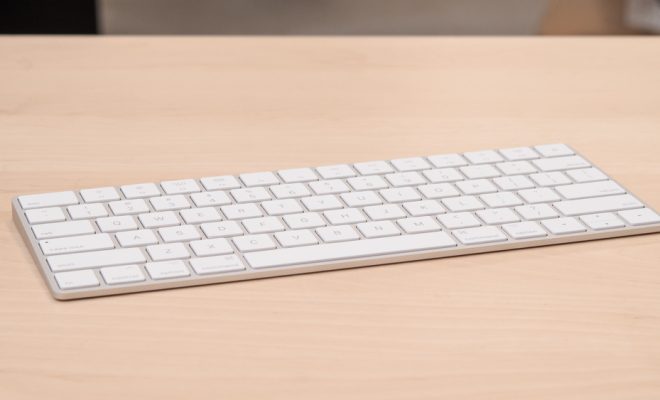
Connecting a Magic Keyboard to a Mac computer is a simple process that can be achieved within minutes. The keyboard was designed specifically for use with Apple computers and is an excellent choice for those who want to improve their typing experience. Here’s a step-by-step guide on how to connect a Magic Keyboard to your Mac.
1. Pick up your Magic Keyboard and turn it on by pressing the power button located on the top right corner of the keyboard. You’ll know that the keyboard is on when the green LED light appears.
2. Next, ensure that Bluetooth is enabled on your Mac. Navigate to “System Preferences” and then “Bluetooth.” Here, you’ll see the Bluetooth preferences menu.
3. If Bluetooth is turned off, toggle the switch to enable it.
4. Once Bluetooth is enabled, your Mac will start looking for available Bluetooth devices. Click on the “Pair” button located beside the name of your Magic Keyboard when it appears on the list of available devices.
5. If prompted to confirm the pairing, click “Yes” to proceed.
6. The final step is to wait for your Mac to complete the pairing process with the Magic Keyboard. This process may take a few seconds or minutes, depending on your computer’s speed.
7. Once the pairing process is complete, you’ll see a notification on your screen that the connection has successful. You can now start typing on your Magic Keyboard with ease!
In conclusion, connecting a Magic Keyboard to a Mac is a simple and straightforward process that can be achieved within minutes. By following the above steps, you’ll be up and running in no time, enjoying the improved typing experience that the keyboard has to offer.


