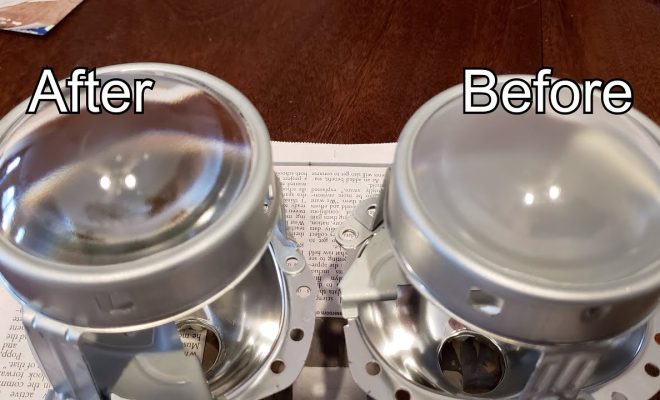
How to Clean a Projector Lens

A projector is a great tool for giving presentations or watching movies on a big screen. However, over time, the lens of a projector can become dirty, which can negatively impact the image quality. Cleaning the lens of a projector is a simple task that can greatly improve the image quality. Here are the steps to clean a projector lens:
1.Turn off the projector and unplug it from the power source. This is important for safety reasons and to prevent damage to the projector.
2.Allow the projector to cool down for a few minutes before starting the cleaning process. The lens can become hot during use, so it’s important to let it cool down before cleaning.
3.Use a blower brush or compressed air to remove any dust or debris from the lens. This will prevent any scratches from occurring during the cleaning process.
4.Moisten a microfiber cloth with lens cleaning solution. Do not use regular cleaning solutions as they may contain chemicals that can damage the lens.
5.Gently wipe the lens in a circular motion, starting from the center and working your way outwards. Avoid applying too much pressure to the lens.
6.If there are stubborn stains or spots on the lens, use a lens cleaning pen to remove them. A lens cleaning pen has a soft brush on one end and a cleaning tip on the other end. Simply brush away any dust or debris and then use the cleaning tip to remove any remaining stains or spots.
7.Once the lens is clean, use a dry microfiber cloth to remove any excess moisture.
8.Turn on the projector and check the image quality. If the image is still blurry or distorted, you may need to clean the lens again or check for other issues.
In conclusion, cleaning the lens of a projector is a simple task that can greatly improve the image quality. By following these steps, you can ensure that your projector lens remains clean and free of any debris or stains. It’s important to clean the lens regularly to maintain the best possible image quality.


