How to Check Your Mac’s Memory for Problems

If you’re experiencing performance issues on your Mac, it might be worth checking your computer’s memory for problems. Here’s how to do it:
- Check how much memory is installed
The first step in checking your Mac’s memory status is to determine how much memory you have installed. To do this, click on the Apple menu in the top left corner of your screen and select “About this Mac.” In the window that pops up, you’ll see a summary of your Mac’s specifications, including the amount of memory (RAM) installed.
- Use Activity Monitor
Activity Monitor is a built-in utility that can help you identify memory issues on your Mac. To open it, go to the “Utilities” folder in your Applications folder and select Activity Monitor. From there, you can see detailed information about which processes are using the most memory.
- Check for memory pressure
In recent versions of macOS, the operating system has a memory pressure indicator that can help you see if your Mac is running low on memory. You can access it by opening Activity Monitor and clicking on the “Memory” tab. The memory pressure graph will show you how much memory is being used and if any pressure is being put on your system due to a lack of available memory.
- Run a memory diagnostic test
If you suspect that your Mac has a problem with its memory, you can run a diagnostic test to check for any issues. To do this, shut down your Mac and then restart it while holding down the “D” key. This will start the Apple Diagnostics utility, which will run a series of tests to check your hardware components, including your Mac’s memory.
- Consider upgrading your memory
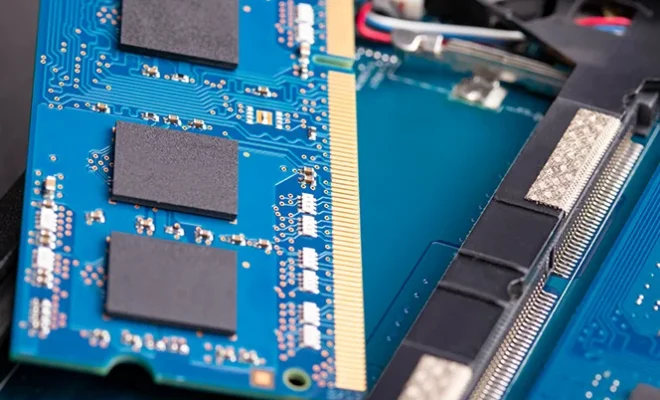
If you’ve identified that your Mac’s memory is running low or is causing performance issues, you might want to consider upgrading it. This can be a relatively simple process, but it does require you to purchase compatible RAM and install it yourself or take it to a professional.


