How to Change the Colors of Command Prompt in Windows

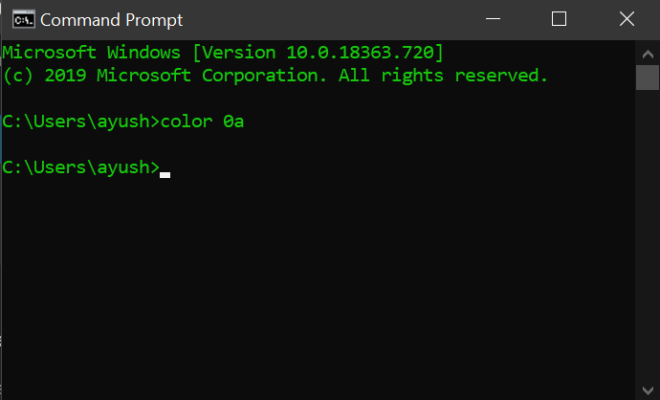
Changing the colors of the command prompt in Windows can be a great way to personalize your computer and make it feel more like your own. In this article, we’ll go through the steps needed to change the colors of the command prompt in Windows.
Step 1: Open the Command Prompt
The first thing you’ll need to do is open the command prompt. You can do this by pressing the Windows key + R, then typing cmd and pressing Enter. Alternatively, you can search for Command Prompt in the Start menu.
Step 2: Access the Properties Menu
Once the command prompt is open, right-click on the title bar and select Properties from the menu that appears. This will open the Properties menu for the command prompt.
Step 3: Choose Your Colors
In the Properties menu, click on the Colors tab. Here, you will see a series of color options that you can adjust. To change the color of the text, click on the dropdown menu next to Screen Text and select a new color. You can also change the background color by clicking on the dropdown menu next to Screen Background.
Step 4: Save Your Changes
After you’ve made your color selections, click on the Apply button to see how they look in the command prompt. If you’re happy with your changes, click OK to save them. If you want to revert to the default colors, you can click on the Defaults button in the Properties menu.
Additional Options
In addition to changing the colors, you can also adjust other settings in the Properties menu. You can change the font size and style, as well as the window size and position. You can also adjust the cursor size and color, and enable or disable Quick Edit mode.
Conclusion
Changing the colors of the command prompt in Windows is a simple process that can be done in just a few easy steps. By personalizing your command prompt, you can make your computer feel more like your own and improve your productivity.


