How to Change a Fitbit Band

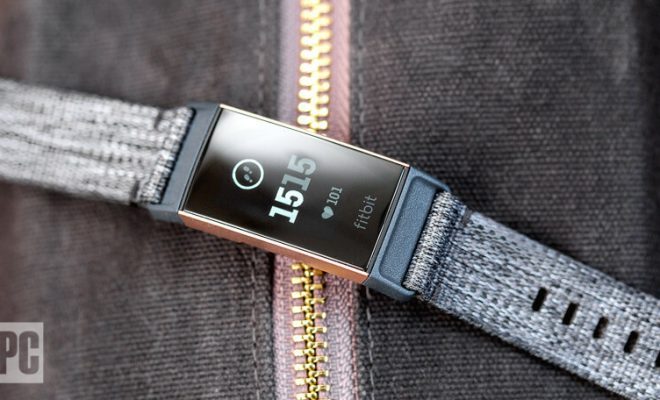
Fitbit has become a popular and quite essential device among fitness enthusiasts. It helps in tracking various activities like steps taken, heart rate, and even sleep patterns. The device has also become a style statement for many, given its compatibility with interchangeable bands that are available in different colors, materials, and styles. If you’re looking to change your Fitbit band, you’ve come to the right place. Here’s a step by step tutorial to help you replace your Fitbit band with ease.
Step 1: Determine the Type of Your Fitbit Band
The first and most crucial step is to identify the type of Fitbit device you have and the corresponding band that would fit it. Fitbit bands come in various sizes and shapes, so it’s essential to match them correctly. You can refer to the Fitbit site or user manual for guidance. Alternatively, you can take your watch to a store that sells Fitbit bands and try out different options till you find the perfect fit.
Step 2: Remove the Current Band
Before removing the current band, it’s essential to ensure the Fitbit device is turned off to avoid accidental damage. Once the device is off, look for the latch that connects the band to the Fitbit tracker. The method of releasing the latch can vary depending on the type of band you have. For bands with pins, you can use a small screwdriver to push on the pin while simultaneously pulling the band away from the device. Other bands need you to press a button or release a catch to remove the band. If you’re unsure of how to release the latch, refer to the user manual or check the Fitbit site for guidance.
Step 3: Install the New Band
Once you’ve successfully removed the old band, it’s time to install the new one. With the Fitbit tracker placed on a flat surface, slide the bands’ pins (or catch) into the corresponding slots on the Fitbit tracker. Ensure that the pins/catch are securely in place and that the band fits perfectly onto the device. Test the band by gently pulling on it to see if it’s securely in place.
Step 4: Reboot the Device
Once you’ve installed the new band, you can turn the Fitbit device back on. To do so, press and hold the side button until the Fitbit logo appears. Once the device has rebooted, check to ensure it’s functioning correctly by checking the band’s display, sensors, and buttons.
In conclusion, changing a Fitbit band is a simple process that you can do in a few easy steps. However, it’s essential to adhere to the instructions provided by the manufacturer to avoid damaging the device or the replacement band. With this guide, you have all you need to change your Fitbit band and give your device a new look.


