How to Build Your Own Internet Satellite Receiver

With the advent of satellite technology, cable and internet service providers have been offering a wide range of options for their customers. However, many people prefer to build their own internet satellite receiver for a number of reasons. Such a project is not only interesting but also affordable, and it offers greater flexibility and more control.
Here are the steps to follow if you want to build your own internet satellite receiver:
1. Research Your Requirements
Your choice of equipment will be determined by the satellite provider you intend to use. Therefore, you need to research the type of satellite dish and LNB (Low-Noise Block) required for the provider’s signal. You also need to know the satellite location and its orbit in the sky. Once you have all this information, you can choose the best hardware to suit your purposes.
2. Order the Equipment
Once you have identified the required satellite dish, LNB, and other equipment, you need to order them. You can search the internet for the required hardware and buy it from reputable dealers or manufacturers. Be sure to purchase the correct components for your provider’s signal and also confirm the warranties and guarantees.
3. Set Up the Satellite Hardware
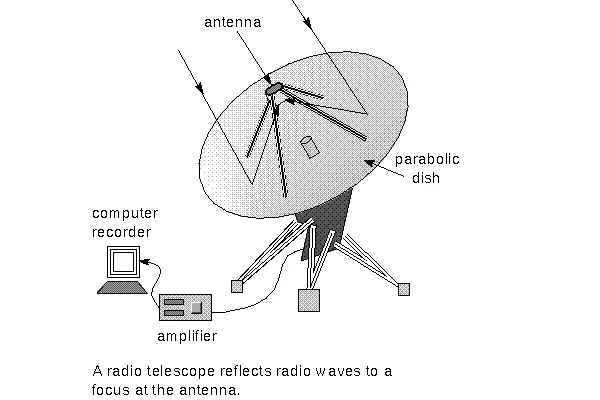
Once you have received all the equipment, the next step is to build the dish and install the LNB onto it. Most satellite dish manufacturers have installation manuals that come with their products, so consult these instructions carefully to ensure you have everything correctly set up. You will also need to position your dish correctly and ensure it is pointed in the right direction.
4. Configure the Software
Once you have set up the satellite hardware, the next step is to configure the software. Typically, you will need a software program that can decrypt satellite signals and then decode them into clear digital data. There are many software options available on the internet, such as DreamBox, Enigma 2, and OpenATV. You will need to install the software onto your receiver and then use it to decrypt signals.
5. Connect Your Receiver to the Internet
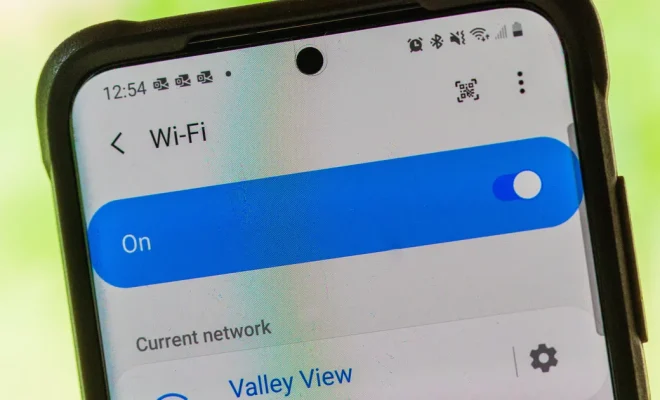
Once your receiver is set up and configured, the next step is to connect it to the internet. You can achieve this by connecting via Wi-Fi or Ethernet. With an internet connection, you will be able to download and stream digital content with ease. You can also easily update your software or add new features.
In conclusion, building your own internet satellite receiver is not too difficult, and it allows you to enjoy the benefits of satellite subscription services without breaking the bank. However, it is important to conduct thorough research, plan your equipment purchases carefully, and consult installation manuals to ensure your dish is set up properly. With the right hardware and software in place, you will be able to enjoy a vast database of digital content from the comfort of your home.


