How to Back Up Your iPhone to an External Hard Drive

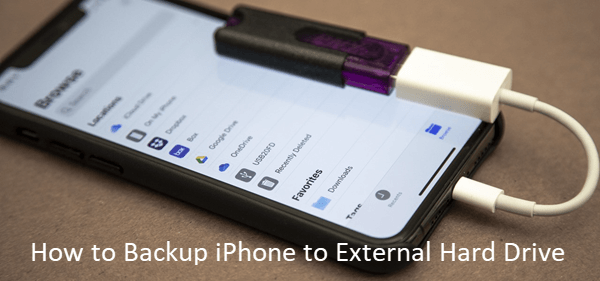
As a modern mobile device, the iPhone has come a long way since its introduction in 2007. It has become a multi-functional device that stores precious data, such as documents, music, photos, and videos, among others. Losing such essential files can be devastating, and that’s why backing up your iPhone data is essential. While an external hard drive might not be the go-to option for some, it provides a secure way of storing critical files. In this article, we shall discuss how to back up your iPhone to an external hard drive.
Step One: Choose the Right External Hard Drive
There are plenty of external hard drives in the market that vary in size and storage capacity. When selecting the right external hard drive, you ought to consider storage capacity, speed, connectivity, durability, and price. Ideally, the external hard drive should have sufficient storage capacity to accommodate all your iPhone data, fast read and write speed, durable and relatively small for easy portability.
Step Two: Connect Your External Hard Drive to Your Mac or PC
Before backing up your iPhone data to an external hard drive, you need to connect it to your Mac or PC via USB. Once connected, go to the File Explorer or Finder and check if your computer recognizes the hard drive. If the computer identifies the external hard drive, it will appear as a drive icon in the File Explorer/Finder.
Step Three: Select iTunes and Switch Off iCloud
The next step in the iPhone back-up process is selecting iTunes as your back-up source. In the case of iPhones running on the latest iOS versions, you can choose to switch off iCloud sync. This step will ensure that your iPhone data gets backed up locally on your computer and the external hard drive.
Step Four: Connect Your iPhone to Your Computer
After launching iTunes, connect your iPhone to your Mac or PC using a USB cable. The iPhone icon will appear on iTunes under the devices section.
Step Five: Start The Backup Process
Once the iPhone is recognized by iTunes, you can begin the backup process. Click on the ‘Back Up Now’ button and wait for the process to complete. Depending on the size of the data, the process can take a few minutes to a few hours. Once done, you can disconnect your iPhone from your computer and proceed to save the backup file on your external hard drive.
Step Six: Copy the Backup File on Your External Hard Drive
After backing up your iPhone data to your computer, you need to move the backup files to your external hard drive. Go to iTunes> Preferences> Devices, and you will see the available iPhone backups. Click the backup that you just created and select ‘Show in Finder’ or ‘Show in File Explorer.’ Once the backup folder appears, drag and drop it to the external hard drive.
In conclusion, backing your iPhone to an external hard drive provides an excellent way of not only securing your data but also freeing up space on your phone. By following these six simple steps, you can safely ensure that your iPhone data gets backed up to your external hard drive. Remember, it’s essential to back up your iPhone data regularly, especially if you store vital information on it.


