How to Add an Email Account to Your iPhone
As an iPhone user, you know how important it is to stay connected with family, friends, and colleagues. One way to achieve this is by adding an email account to your device. Here’s a step-by-step guide on how to do it.
1. Open the Settings app on your home screen.
2. Scroll down and tap on “Passwords & Accounts”.
3. Tap on “Add Account”.
4. Choose your email provider from the list (e.g., Google, Outlook, Yahoo, etc.), or select “Other” if your email provider is not listed.
5. Enter your email address and password, then tap “Next”. Your device will verify your account information.
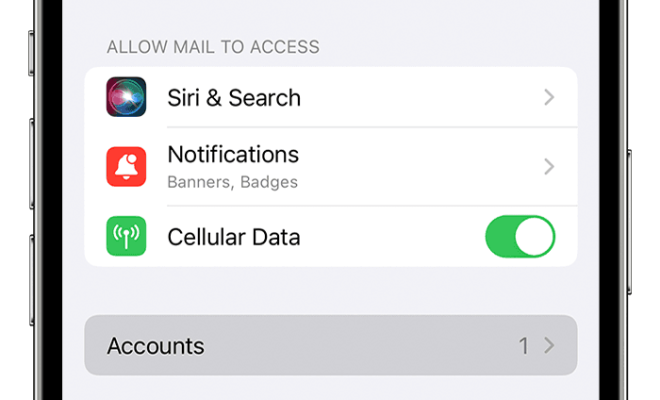
6. Select which services you want to sync with your device (Mail, Contacts, Calendars, etc.).
7. Tap “Save” to complete the set-up process.
Congratulations! You have successfully added an email account to your iPhone.
Now that you have set up your email account, you can customize your settings to suit your preferences. For example, you can choose how often your device checks for new emails, or how many emails it displays in your inbox. Here’s how to do it:
1. Go to Settings > Passwords & Accounts.
2. Select the email account you want to customize.
3. Tap on “Account”.
4. Here, you can customize your settings for Mail, Contacts, Calendars, and Notes.
5. For example, to change how frequently your device checks for new emails, tap on “Fetch New Data” and select the desired option.
By following these simple steps, you can add an email account to your iPhone and enjoy the benefits of staying connected on the go. Remember to customize your settings to optimize your email experience. Happy emailing!