Guide to Making Facebook Photos Private

Facebook is one of the most popular social media platforms, with millions of photos being uploaded daily. However, it’s crucial to keep in mind that not everyone should have access to your personal pictures. Follow this guide to learn how to make your Facebook photos private.
Step 1: Restrict Your Tags
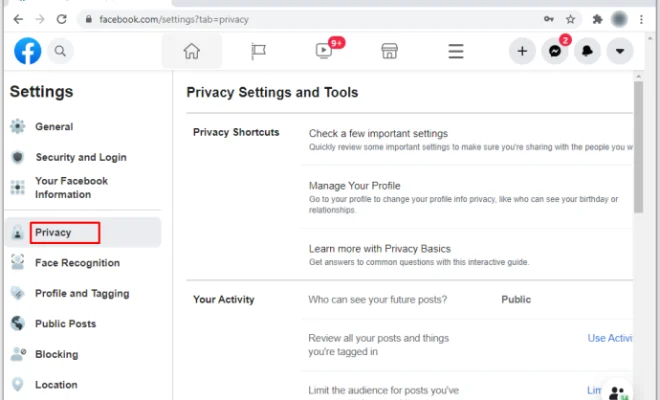
A tag is when someone identifies you in a photo. Whenever someone tags you in an image, it appears on your timeline and in your friends’ news feeds. Ensure that your tags are restricted to people who you’re comfortable seeing those photos. You can do this by adjusting your settings in the “Timeline and Tagging” section of your Facebook settings.
Step 2: Limit the Audience of Future Posts
Whenever you upload a photo, Facebook automatically sets the privacy to “Public” by default. If you don’t want everyone to see your pictures, you can set them to “Friends” or a specific group of people. To do this, click on the audience selector tool, and under “Share with,” choose the preferred audience.
Step 3: Review Your Tagged Photos
You should review the photos that you’re tagged in to ensure that they are appropriate and don’t pose a privacy risk. You can do this by going to the “Photos of You” section on your Facebook profile. You can remove yourself from any photos that you don’t want to be associated with by clicking on the “Remove Tag” option.
Step 4: Make Existing Photos Private
After reviewing your tagged photos, take the time to make your existing pictures private. To do this, go to your profile and click on the “Photos” tab. Then, click on “Albums” and go through each album to adjust the privacy settings.
Step 5: Use the Activity Log
Facebook’s Activity Log is an excellent tool for reviewing and managing your posts and photos. You can use it to remove photos that you no longer want on your timeline or that were uploaded by someone else. To use the Activity Log, click on the “Activity Log” button on your profile and select “Photos” from the left-hand menu.
In conclusion, your privacy and security should always be a top priority, especially when it comes to social media. By following this guide, you can easily make your Facebook photos private and secure. Remember to review your privacy settings regularly, review photos you’re tagged in and keep track of your uploads to ensure your photos remain private.


