Easily Configure Conky Setup With Conky Manager

A step-by-step guide on how to configure Conky setup with Conky Manager:
1. Start by installing Conky and Conky Manager on your Linux machine. You can do this by opening a terminal and running the following commands:
“`
sudo apt-get install conky-all
sudo add-apt-repository -y ppa:teejee2008/ppa
sudo apt-get update
sudo apt-get install conky-manager
“`
2. Launch Conky Manager from the applications menu or the terminal by running the command `conky-manager`.
3. Click on the “Add” button located at the bottom left corner of the Conky Manager window.
4. From the list of available themes, choose the one that you wish to install and click on the “Install” button.
5. Once the theme is installed, click on the “Activate” button to apply it to your desktop.
6. You can customize the Conky theme by clicking on the “Settings” button located next to the “Activate” button.
7. Make your desired changes to the theme and click on the “Save” button to apply them.
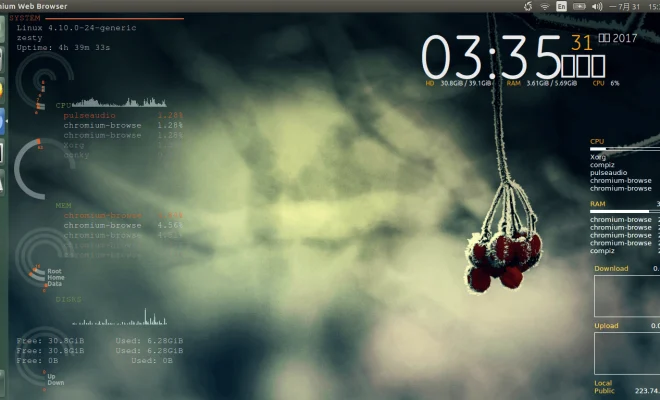
8. Close the Conky Manager window and you should now see your newly configured Conky setup on your desktop.
That’s it! You have now successfully configured Conky setup with Conky Manager.


