You Can Take Stunning Long-Exposure Photos Using Just Your iPhone

Introduction:
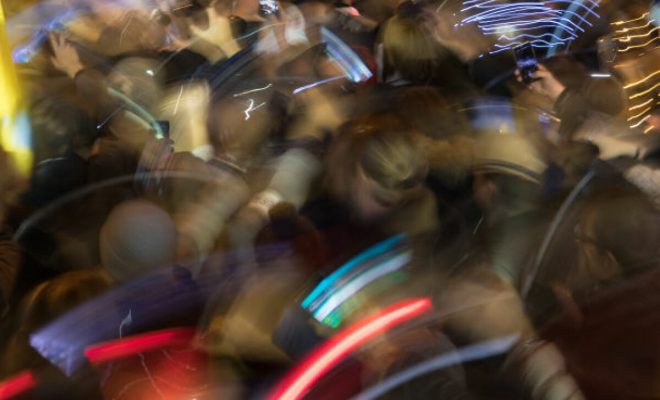
Long-exposure photography is an exciting and engaging technique that captures images with otherwise unattainable visual effects. This method involves leaving the camera’s shutter open for extended periods, which captures movement and produces a stunning sense of motion in the final image. With the advancement of iPhone camera technology, taking impressive long-exposure photographs has now become more accessible than ever before.
1. Understanding Long Exposure Photography:
Long-exposure photos are known for their capacity to showcase the fluid nature of time and light in a single image. These pictures can capture everything from star trails to rushing water and cityscapes with streaking lights. With this technique, photographers can create dynamic images that evoke feelings of movement and progression.
2. Equipment Requirements:
Traditionally, long-exposure photography requires a DSLR or mirrorless camera, tripod, and a remote shutter release. However, recent iPhones have made it possible to achieve similar results using an iOS device. With specific apps that expand your iPhone’s camera capabilities, taking long-exposure photographs has become simpler and more convenient.
3. Utilizing iPhone’s Live Photos:
One of the easiest ways to create a long-exposure effect on your iPhone is by using the built-in Live Photos feature. When capturing a Live Photo, your iPhone records 1.5 seconds of video before and after you snap an image, giving you a total of 3 seconds to work with.
To create a long-exposure photo with Live Photos:
a) Launch the Camera app
b) Enable “Live” at the top-right corner
c) Keep your hands steady while capturing the shot
d) Once captured, swipe up on the live photo in your gallery
e) Select “Long Exposure” from the list of options
4. Using Third-Party Apps:
Another option to take long-exposure photos on your iPhone is by using third-party apps such as Slow Shutter Cam, Spectre Camera, or NightCap. These apps offer a range of controls and settings to adjust exposure length and effects based on your desired final outcome.
5. Practical Tips for Better Long-Exposure Results:
To achieve the best possible long-exposure photos via your iPhone, consider these practical tips:
a) Use a tripod or gimbal: While the iPhone’s image stabilization is advanced, extended exposures can test its limits.
Attaching your phone to a tripod or gimbal will help eliminate any unintentional camera movement.
b) Shoot during the right conditions: When taking long exposures during the day, bright sunlight can wash out images. To avoid overexposure, shoot photographs during golden hours or blue hours.
c) Experiment with settings and post-processing: Take advantage of app settings and choose different shutter speeds and exposure lengths to achieve different visual effects. You can also make further adjustments using photo-editing apps like Snapseed or Lightroom Mobile.
Conclusion:
With some practice and experimentation, you don’t need professional equipment to take remarkable long-exposure photographs. By utilizing your iPhone and following the guidelines above, you’ll be well on your way to capturing breathtaking images that convey movement and emotion, setting you apart from casual smartphone photographers.


