My DIY iPhone Battery Replacement Was Easy. Here’s What I Did.

As an iPhone user, I recently faced the age-old problem of a dying battery. The device seemed to always be in dire need of charging, leaving me frustrated and disappointed. That’s when I decided to take matters into my own hands and replace the battery myself. To my surprise, it was a much simpler process than anticipated, which is why I feel compelled to share my experience with fellow iPhone users.
Before we dive into the step-by-step guide, please remember that attempting a DIY repair on your iPhone might void your warranty, and there’s always a risk of damaging the phone. So, proceed with caution and consider going to a professional if you are not confident in your technical abilities.
Here’s what I did to successfully replace my iPhone battery:
1. Gather the necessary tools:
– Pentalobe screwdriver (specifically made for iPhones)
– Phillips head screwdriver
– Tweezers
– Plastic spudger or opening tool (to avoid damaging the delicate components)
– New replacement battery (ensure it is compatible with your iPhone model)
2. Switch off the iPhone and remove the two Pentalobe screws located at the bottom of the phone near the charging port.
3. Using the plastic spudger or opening tool, carefully create a gap between the screen and phone body along one side. Slowly work your way around until you can lift the screen up from its bottom edge but do not remove it completely; it is still connected internally.
4. Locate and remove two or three screws securing the metal plate that covers the battery connector on the phone’s internal circuit board. Use tweezers or a plastic spudger to unplug this connector gently.
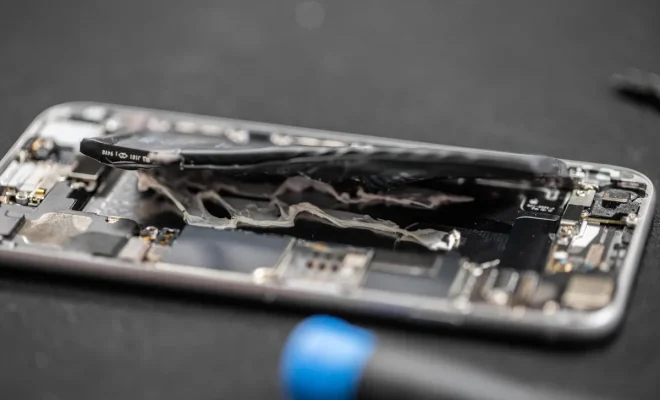
5. Now you’ll see that your old battery is attached with adhesive strips. Carefully peel these back and slowly pull them away from your phone, releasing your old battery.
6. Install your new battery by pressing it gently into place inside the phone. Be sure to line up the battery connector with the appropriate port on the circuit board, and plug it in.
7. Reattach the metal plate that covers the battery connector and fasten any screws removed previously.
8. Ensure that all internal components are in order before reattaching the screen to the phone body. Carefully close the screen, starting with its top edge, and press down gently along its sides until it clicks neatly into place.
9. Finally, reinstall the two Pentalobe screws at the bottom of your iPhone, and you’re done!
After completing this process, my iPhone’s battery life became substantially better, and I was no longer tethered to my charger throughout the day. If you’re experiencing similar issues and want to take matters into your own hands, this DIY fix can be an easy and cost-effective solution. However, if you’re unsure or nervous about working with delicate electronics, it never hurts to consult a professional!


