Learn How to Show or Hide Chart Axes in Excel

Excel charts are a great way to visualize data and convey information. They can be customized in many ways, including the ability to show or hide chart axes. Chart axes are the horizontal and vertical lines that intersect at the chart’s origin and are used to measure and display data values. This article will show you how to show or hide chart axes in Excel.
Showing Chart Axes
To show chart axes, follow these steps:
1.Select the chart you want to modify.
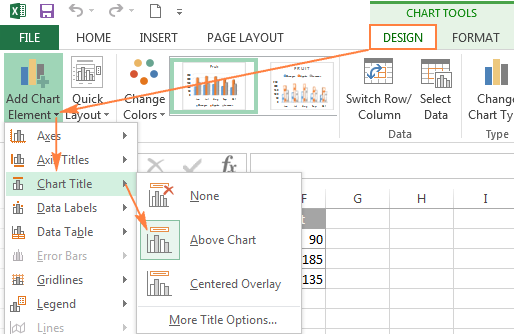
2.Click on the chart’s “Chart Elements” button. This button is located on the right-hand side of the chart and looks like a plus sign inside a circle.
3.Click on the “Axes” checkbox to add the chart axes to the chart.
4.Customize the chart axes by clicking on the “Axes” dropdown menu. Here, you can adjust the formatting, font, and other properties of the chart axes.
Hiding Chart Axes
To hide chart axes, follow these steps:
1.Select the chart you want to modify.
2.Click on the chart’s “Chart Elements” button.
3.Click on the “Axes” checkbox to remove the chart axes from the chart.
4.If you want to show the chart axes again, simply click on the “Axes” checkbox again.
Conclusion
Showing or hiding chart axes in Excel is a simple and effective way to customize your charts. By following the steps outlined in this article, you can easily add or remove chart axes from your charts and adjust their formatting to suit your needs. With this knowledge, you can create charts that are both informative and visually appealing.


