Instant Pot Rice: A Quick and Foolproof Guide to Perfectly Cooked Rice

Introduction:
Instant Pot, a beloved kitchen gadget, has revolutionized the cooking game for busy households. One of its fantastic abilities is to simplify the cooking process of a basic staple food – rice. In this article, we will discuss how to make perfectly cooked Instant Pot rice every single time.
Step 1: Measure and Rinse the Rice
Before you start cooking, always measure your desired amount of rice using a standard measuring cup. Once you’ve measured the quantity you want, rinse the rice under cold water in a fine mesh strainer until the water runs clear to remove any excess starch.
Step 2: Place the Rice in the Instant Pot
Transfer the rinsed rice into your Instant Pot inner pot. Make sure to spread it out evenly across the bottom to ensure uniform cooking.
Step 3: Add Water and Seasoning
For white rice (such as jasmine or basmati), use a 1:1 ratio of water to rice. For brown rice, use a ratio of 1¼ cups of water for every cup of rice. You may also add a pinch of salt for seasoning and flavor enhancement.
Step 4: Secure the Lid and Set Pressure
Place the Instant Pot lid securely on top and close it by turning clockwise until it locks into place. Make sure that the pressure release valve is set to “Sealing.” Now, depending on your type of rice, choose either “Rice” (for white rice) or “Multigrain” (for brown rice) preset on your Instant Pot. The pressure cooker should be set at high pressure. White rice generally takes 3-5 minutes, while brown rice may take 20-25 minutes.
Step 5: Let the Pressure Release Naturally
Once your Instant Pot has finished cooking, let it release pressure naturally by allowing it to sit for about 10-15 minutes. This step is crucial as the rice will continue to cook during this time.
Step 6: Open the Lid and Fluff the Rice
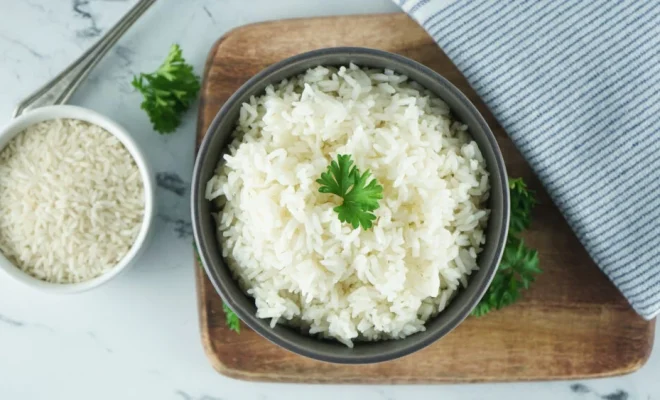
After the pressure has been released, carefully open the Instant Pot lid, stirring gently and fluffing your perfectly cooked rice with a fork. You may notice some moisture in the pot – that’s normal. The rice will absorb any remaining liquid as it cools.
Step 7: Serve and Enjoy!
Your Instant Pot rice is now ready to serve, alongside your favorite main dish or used as a base for an array of delicious recipes!
Conclusion:
Cooking rice in an Instant Pot not only saves time but also guarantees perfectly cooked grains every time. Just follow these easy steps, and you’ll master the art of making Instant Pot rice. Say goodbye to mushy, overcooked, or burnt rice! Enjoy your perfectly fluffy and tender rice whenever you want with this simple cooking technique.


