How to Update Your Amazon Fire Stick

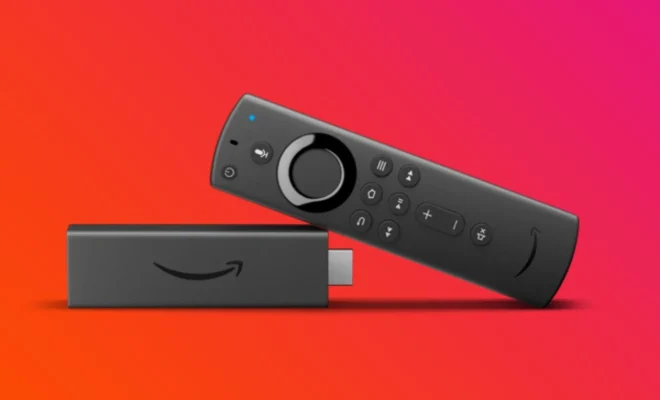
As streaming services have become increasingly popular, the Amazon Fire Stick has become one of the most popular streaming devices out there. However, it is important to update your Amazon Fire Stick regularly to ensure you have access to the latest features and bug fixes. Here is how to update your Amazon Fire Stick.
Step 1: Check Your Fire Stick’s Current Software Version
To check your Fire Stick’s current software version, navigate to “Settings” on the home screen, then to “My Fire TV,” and finally to “About.” Here, you will find your “System version” and “Installed software.” Note that the model of your Fire Stick will determine the available version updates you can receive.
Step 2: Connect Your Fire Stick to an Internet Connection
Before updating your Fire Stick, make sure it is connected to the internet. Navigate to “Settings,” then to “Network,” then to “Select an available network.” Enter your Wi-Fi password if required and connect your Fire Stick.
Step 3: Check for Software Update Availability
To check for available software updates, navigate to “Settings,” then to “My Fire TV,” and finally to “About.” If an update is available, you will see a “Check for Updates” button. Click on the button and wait for the system to check for updates.
Step 4: Install the Latest Software Update
If an update is available, you will be prompted to download and install the latest version of the software. Click on “Download and Install” to start the process.
Step 5: Restart Your Fire Stick
After the update is completed, your Fire Stick will automatically restart. If it does not restart automatically, you can do so yourself by navigating to “Settings,” then to “My Fire TV,” and finally to “Restart.”
In conclusion, updating your Amazon Fire Stick is important to ensure you have access to the latest features, bug fixes, and security updates. Checking for updates is easy and only takes a few minutes to complete. Keep your Fire Stick updated for the best streaming experience.


