How to Set Up Your Roku TV, Box, or Streaming Stick

Setting up your Roku TV, box, or streaming stick is a straightforward process that can be done in a few easy steps. In this article, we’ll go through the process step by step, so you can get your Roku up and running in no time.
Step 1: Unbox Your Roku Device
Once you’ve received your Roku device, the first step is to unbox it. Inside the box, you’ll find the Roku device, a remote control (with batteries included), a power adapter, and an HDMI cable (in some cases).
Step 2: Connect Your Roku to Your TV
The next step is to connect your Roku device to your TV. To do this, take one end of the HDMI cable and plug it into your TV’s HDMI input. Then, take the other end of the cable and plug it into your Roku device’s HDMI output.
If your Roku device is a streaming stick, plug it directly into your TV’s HDMI port. If your TV doesn’t have an HDMI input, you may need to purchase an HDMI-to-RCA adapter.
Step 3: Connect Your Roku to the Internet
Once you’ve connected your Roku device to your TV, the next step is to connect it to the internet. There are two ways to do this:
Wireless: If you have a wireless network set up in your home, you can connect your Roku to the internet wirelessly. To do this, go to your Roku’s home screen and select “Settings,” then “Network,” and then “Wireless.” From there, select your wireless network and enter your password.
Wired: If you prefer a wired connection, you can connect your Roku to your router using an ethernet cable. Simply plug one end of the cable into your Roku device and the other end into an available port on your router.
Step 4: Set Up Your Roku Account
To use your Roku device, you’ll need to create a Roku account. To do this, go to https://my.roku.com/signup and follow the on-screen instructions to create your account.
Once you’ve created your account, your Roku device will automatically activate. If it doesn’t, go to the Roku activation page at https://my.roku.com/link and enter the code displayed on your TV screen.
Step 5: Install Your Favorite Channels
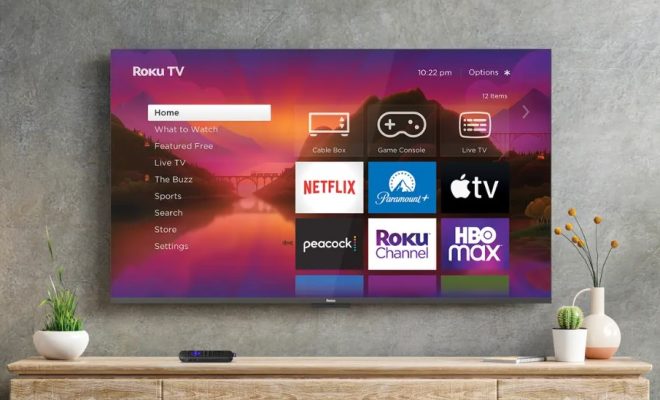
After activating your Roku, you can start installing your favorite channels. To do this, go to your Roku’s home screen and select “Streaming Channels” on the left-hand side of the screen. From there, you can browse and search for channels to install.
Once you’ve found a channel you want to install, simply click on it and then click “Add Channel.” The channel will be added to your Roku’s home screen, where you can easily access it.
In conclusion, setting up your Roku TV, box, or streaming stick is a simple process that can be done in just a few steps. By following these steps, you’ll be able to connect your Roku to your TV, internet, and install your favorite channels in no time. Happy streaming!


