How to Replace Your Keurig Water Filter: A Step-by-Step Guide

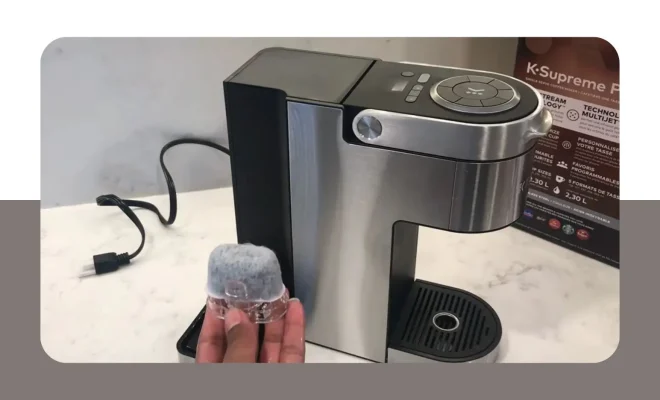
A Keurig water filter is an integral component of your coffee maker that ensures you get great-tasting, fresh, and clean coffee every time. Over time, however, these filters can become clogged and it becomes necessary to replace them. This step-by-step guide will help you replace your Keurig water filter with ease.
Step 1: Gather the Necessary Tools
Before you begin, ensure you have the following items handy:
– A new Keurig water filter cartridge
– A timer
– Fresh cold water
– A sink with running water
Step 2: Turn Off the Keurig Machine
For safety reasons, before proceeding any further, unplug your Keurig machine and ensure it’s powered off.
Step 3: Remove the Water Reservoir
Detach the water reservoir from your coffee maker by simply lifting it up and away from the machine. Make sure to empty out any remaining water in the reservoir before getting started on the next steps.
Step 4: Locate and Remove the Keurig Water Filter Holder
On most Keurig machines, the filter is located at the base of the water reservoir. Once you have found it, proceed to remove the filter holder by gently lifting it out of its position.
Step 5: Discard the Old Filter
Take out the old filter by sliding it out of its slot in the holder and discard it properly.
Step 6: Soak Your New Water Filter Cartridge
Take your new Keurig water filter cartridge and soak it in a bowl of fresh cold water for at least
five minutes to activate the charcoal inside it. Be sure to set a timer so as not to exceed this time.
Step 7: Rinse Your New Water Filter Cartridge
After soaking your new filter for five minutes, take it out of the water and rinse it under cold running water for an additional minute to remove any extra particles.
Step 8: Insert the New Water Filter
Place the new filter into the filter holder by sliding it into the designated slot. Make sure it’s securely inserted into position.
Step 9: Put the Water Filter Holder Back in Place
Place the filter holder back in its proper position at the base of the water reservoir. Ensure it’s seated securely in place.
Step 10: Reattach the Water Reservoir and Fill with Water
Reattach the water reservoir to your Keurig coffee maker and fill it with fresh cold water.
Step 11: Turn On Your Keurig Machine and Run a Cleansing Brew
Plug your coffee maker back in and power it on. Run a few cleansing brews without a K-Cup or coffee pod to flush out any remaining impurities. Once this is complete, your Keurig machine will be ready to produce delicious, clean coffee once again!
By following these simple steps, you can effectively replace your Keurig water filter and enjoy consistent, great-tasting coffee with every brew. Be sure to regularly monitor your filter and replace it as needed to maintain optimal performance for your coffee maker.


