How to Remove Geotags From iPhone Pictures

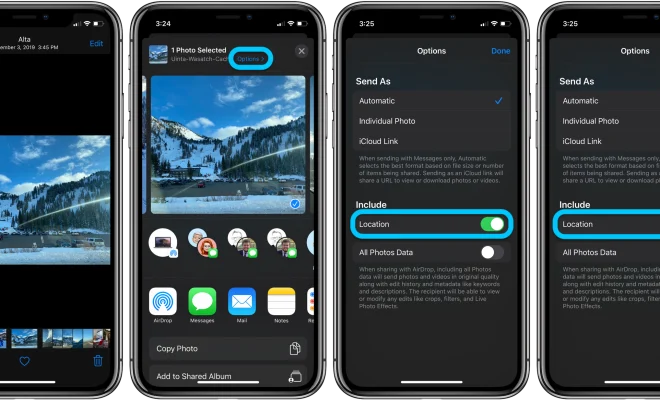
Geotags are a great feature that allows you to see where your photos were taken. However, there may be times when you want to remove the geotags from your iPhone pictures. This could be for privacy reasons or to prevent others from knowing your location. In this article, we will show you how to remove geotags from iPhone pictures.
Step 1: Open the Photos App
The first step is to open the Photos app on your iPhone. This app comes pre-installed on all iPhones, so you should be able to find it easily.
Step 2: Select the Photo
Next, select the photo that you want to remove the geotag from. You can do this by scrolling through your photos or by using the search function.
Step 3: Tap on the “i” Icon
Once you have selected the photo, tap on the “i” icon in the top right corner of the screen. This will bring up the photo details.
Step 4: Scroll Down to the Location Section
Scroll down until you see the Location section. This will show you the exact location where the photo was taken.
Step 5: Tap on “Remove Location”
Finally, tap on “Remove Location” to remove the geotag from the photo. This will prevent anyone from seeing where the photo was taken.
Conclusion
Removing geotags from iPhone pictures is a simple process that can be done in just a few steps. By following these steps, you can ensure that your privacy is protected and that others cannot track your location through your photos.


