How to Password Protect a ZIP File in Windows

If you need to send sensitive files over the internet, or store them on a device that might fall into the wrong hands, it’s essential to password-protect them. One of the easiest ways to do this is by compressing them into a ZIP file and adding a password to it. Here’s how to password-protect a ZIP file in Windows:
Step 1: Create a new ZIP file
The first step is to create a new ZIP file. You can do this by right-clicking on the folder or file you want to protect and selecting “Send to > Compressed (zipped) folder”.
Step 2: Open the ZIP file
Once you’ve created the ZIP file, double-click on it to open it.
Step 3: Add a password
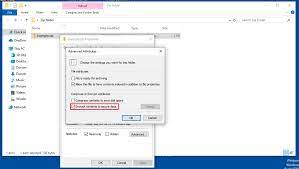
Now, click on the “File” menu in the top left corner of the window and select “Add a password”.
Step 4: Choose a password
Next, choose a strong password that’s hard to guess. Ideally, it should contain a mix of upper and lowercase letters, numbers, and symbols. Make sure to write it down and store it safely, as you won’t be able to access the files in the ZIP file without it.
Step 5: Save the changes
After you’ve added the password, click on “OK” to save the changes.
Step 6: Test the password
To make sure the password has been applied correctly, try to open the ZIP file. You should be prompted to enter the password before you can access the files inside.
In conclusion, password protecting a ZIP file is a quick and easy way to keep your sensitive files safe from prying eyes. By following the steps outlined above, you can secure your files with a strong password and have peace of mind knowing they’re protected.


